


CALL: 075 275 78428
How I Built a Solar-Powered E-bike that works
Inventors, adventurers, tinkerers, futurists
A solar-powered adventure
How to build a Solar-powered E-bike by filmmaker, photographer and Sun Trip 2026 participant Shawn Ryan
The idea is simple: ride as far as possible using solar, without relying solely on mains charging. After a few weeks of testing in the UK and 1300 kilometres riding through France during the 2026 Sun Trip event, this is the system that worked for me. This isn’t the only way to build a solar-powered bike, but it explains the principles behind the setup and some of the lessons I learned along the way. Read my history of the Sun Trip here to get an idea of the event.
It became a race to get the copper Omnium finished and working. Luckily, my friend Antony runs Bike Love You in Nottingham and adopted the position of race mechanic. Drops were added, gears and brakes honed in. It was a joy to ride. It looked fast, I thought.
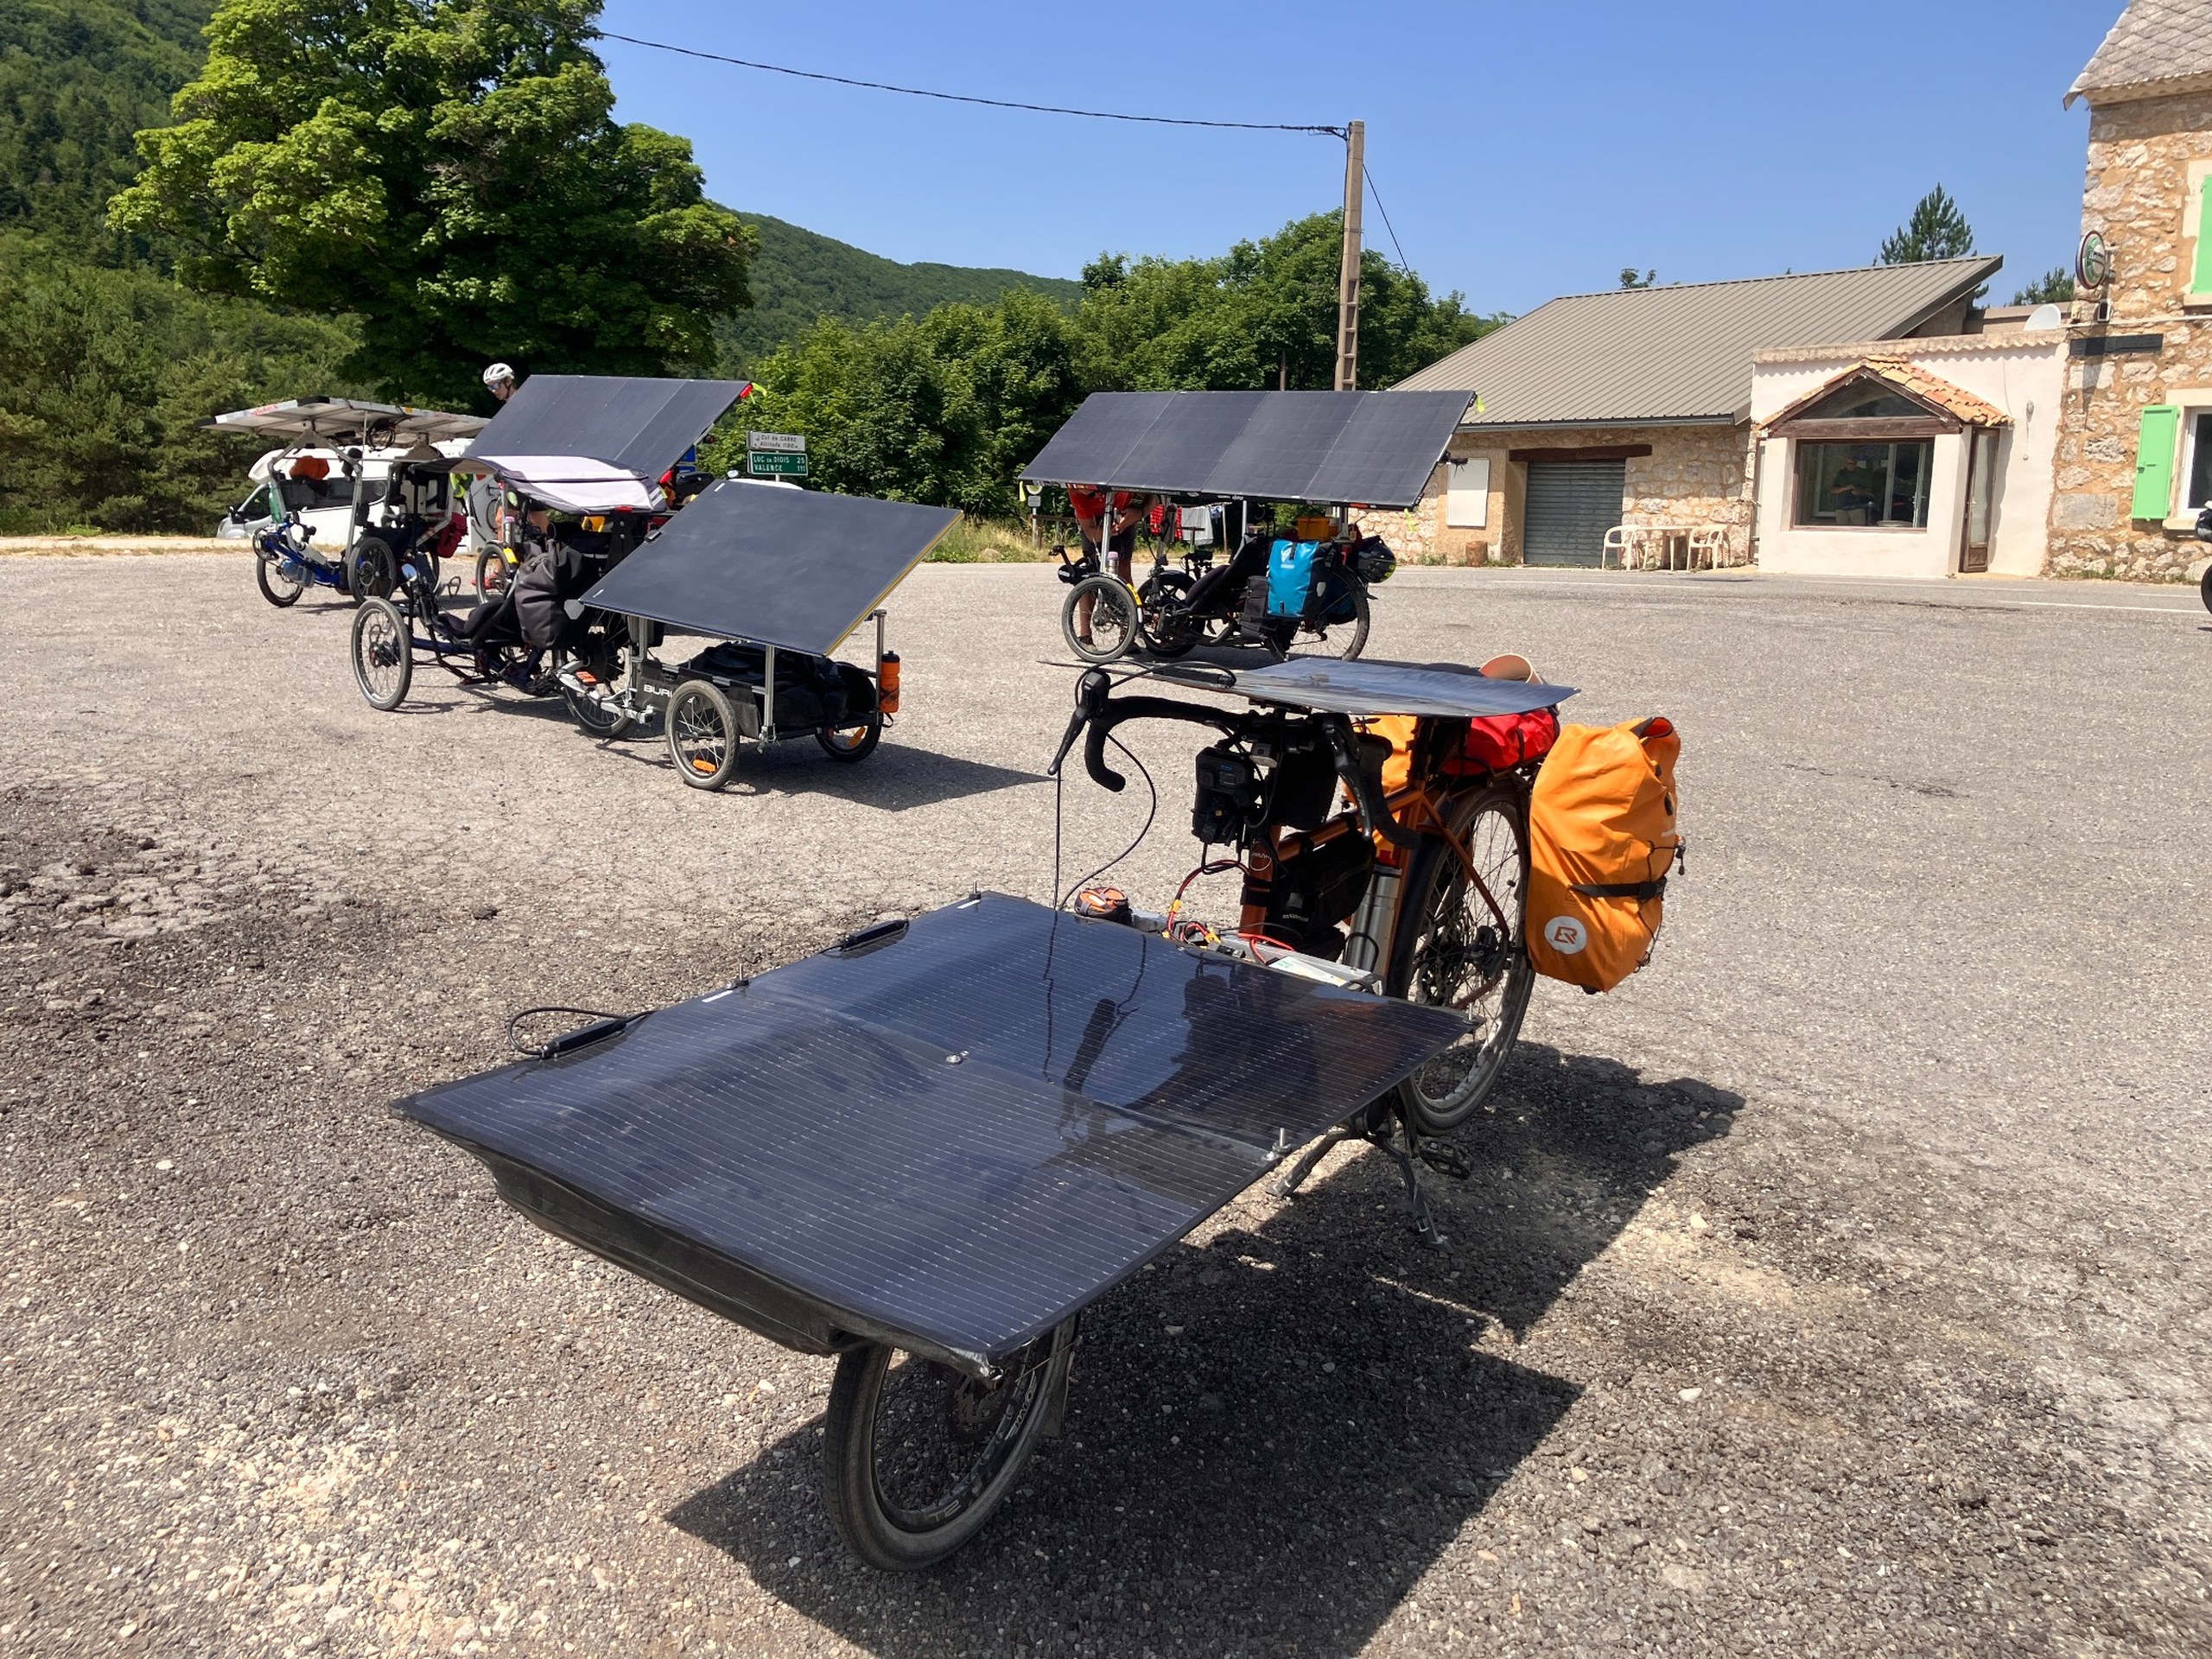
The original idea was to use three 100 W solar panels mounted across the front deck of the cargo bike.
It produced more power, but during test rides the bike felt too long and unwieldy, particularly when manoeuvring through traffic and tighter spaces.
I reduced the array to 200 W, knowing that this was probably close to the minimum needed for the distances and climbing involved.
That concern proved justified. The system worked, but it was operating close to its limit. On some days the batteries did not fully recharge, and over the entire trip I needed to use mains power twice.
The main technical problem was one battery refusing to accept solar charge when it became too hot. The Infinit battery had an aluminium casing that absorbed heat, and the battery-management system stopped charging to protect the cells. It was during a French heatwave, and temperatures hit 41c; parts of Lyon were on fire.
Before the event, I had expected the 250 W Tongsheng mid-drive motor to be the weakest part of the system, particularly during long climbs in extreme heat.
I was also concerned about my own fitness. I had done very little training, which mostly consisted of riding to a pub; a ride of this length would test my belief in my genetic talents. I had won the Nottingham folding bike race in 2018 against a field of 20; therefore, I was almost pro.
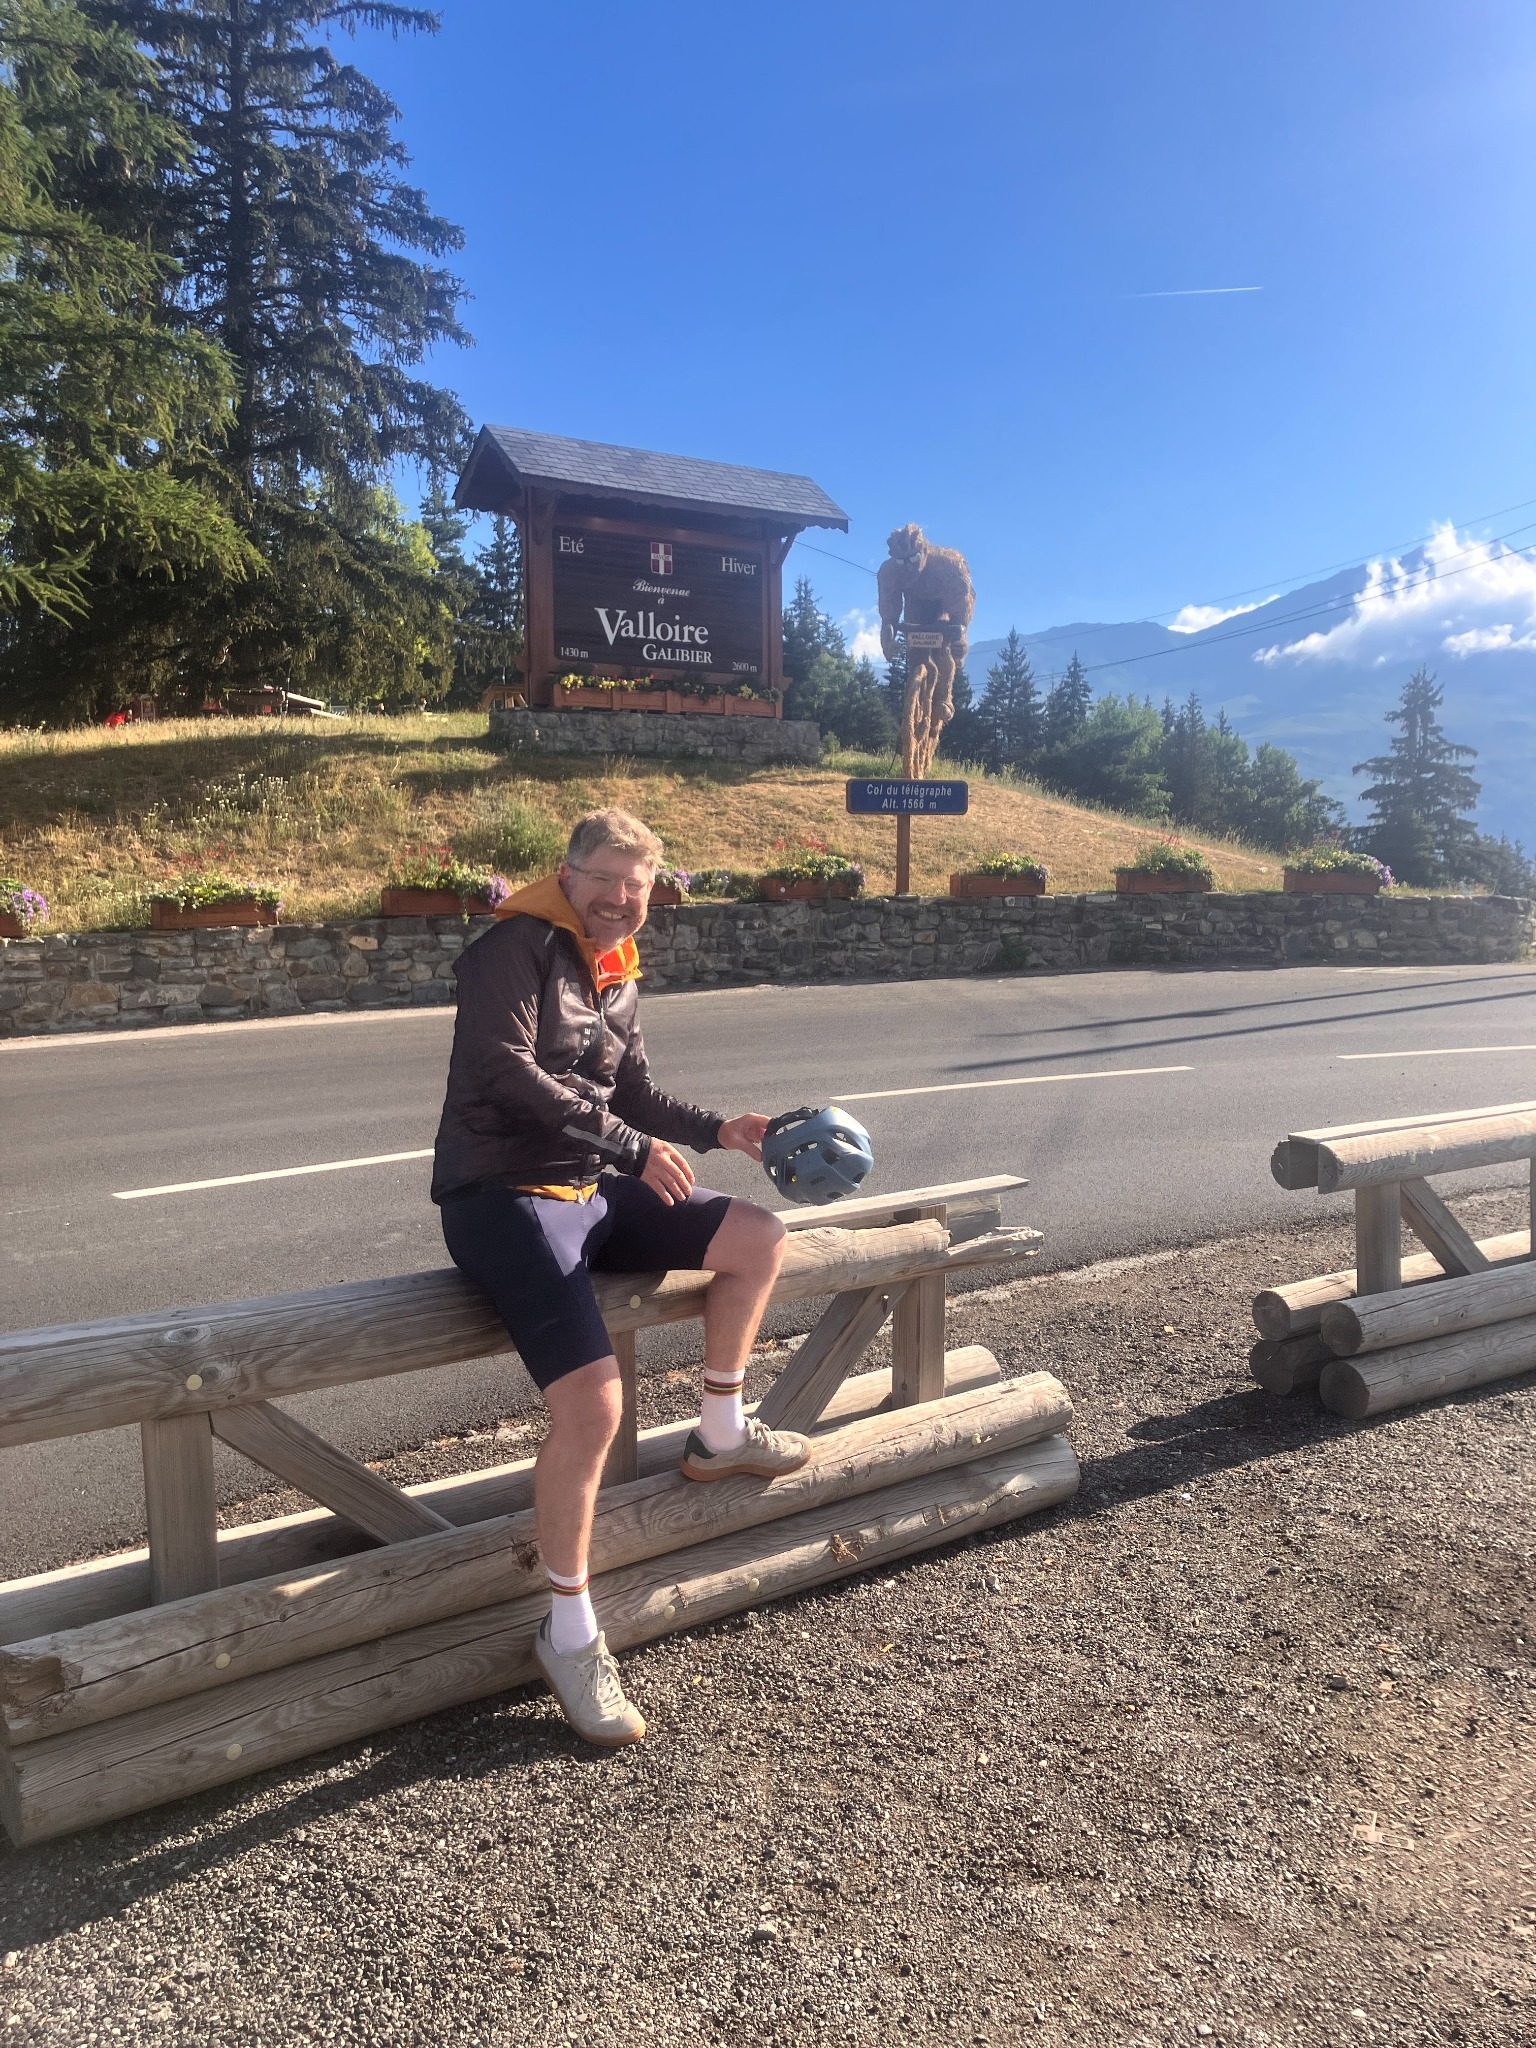
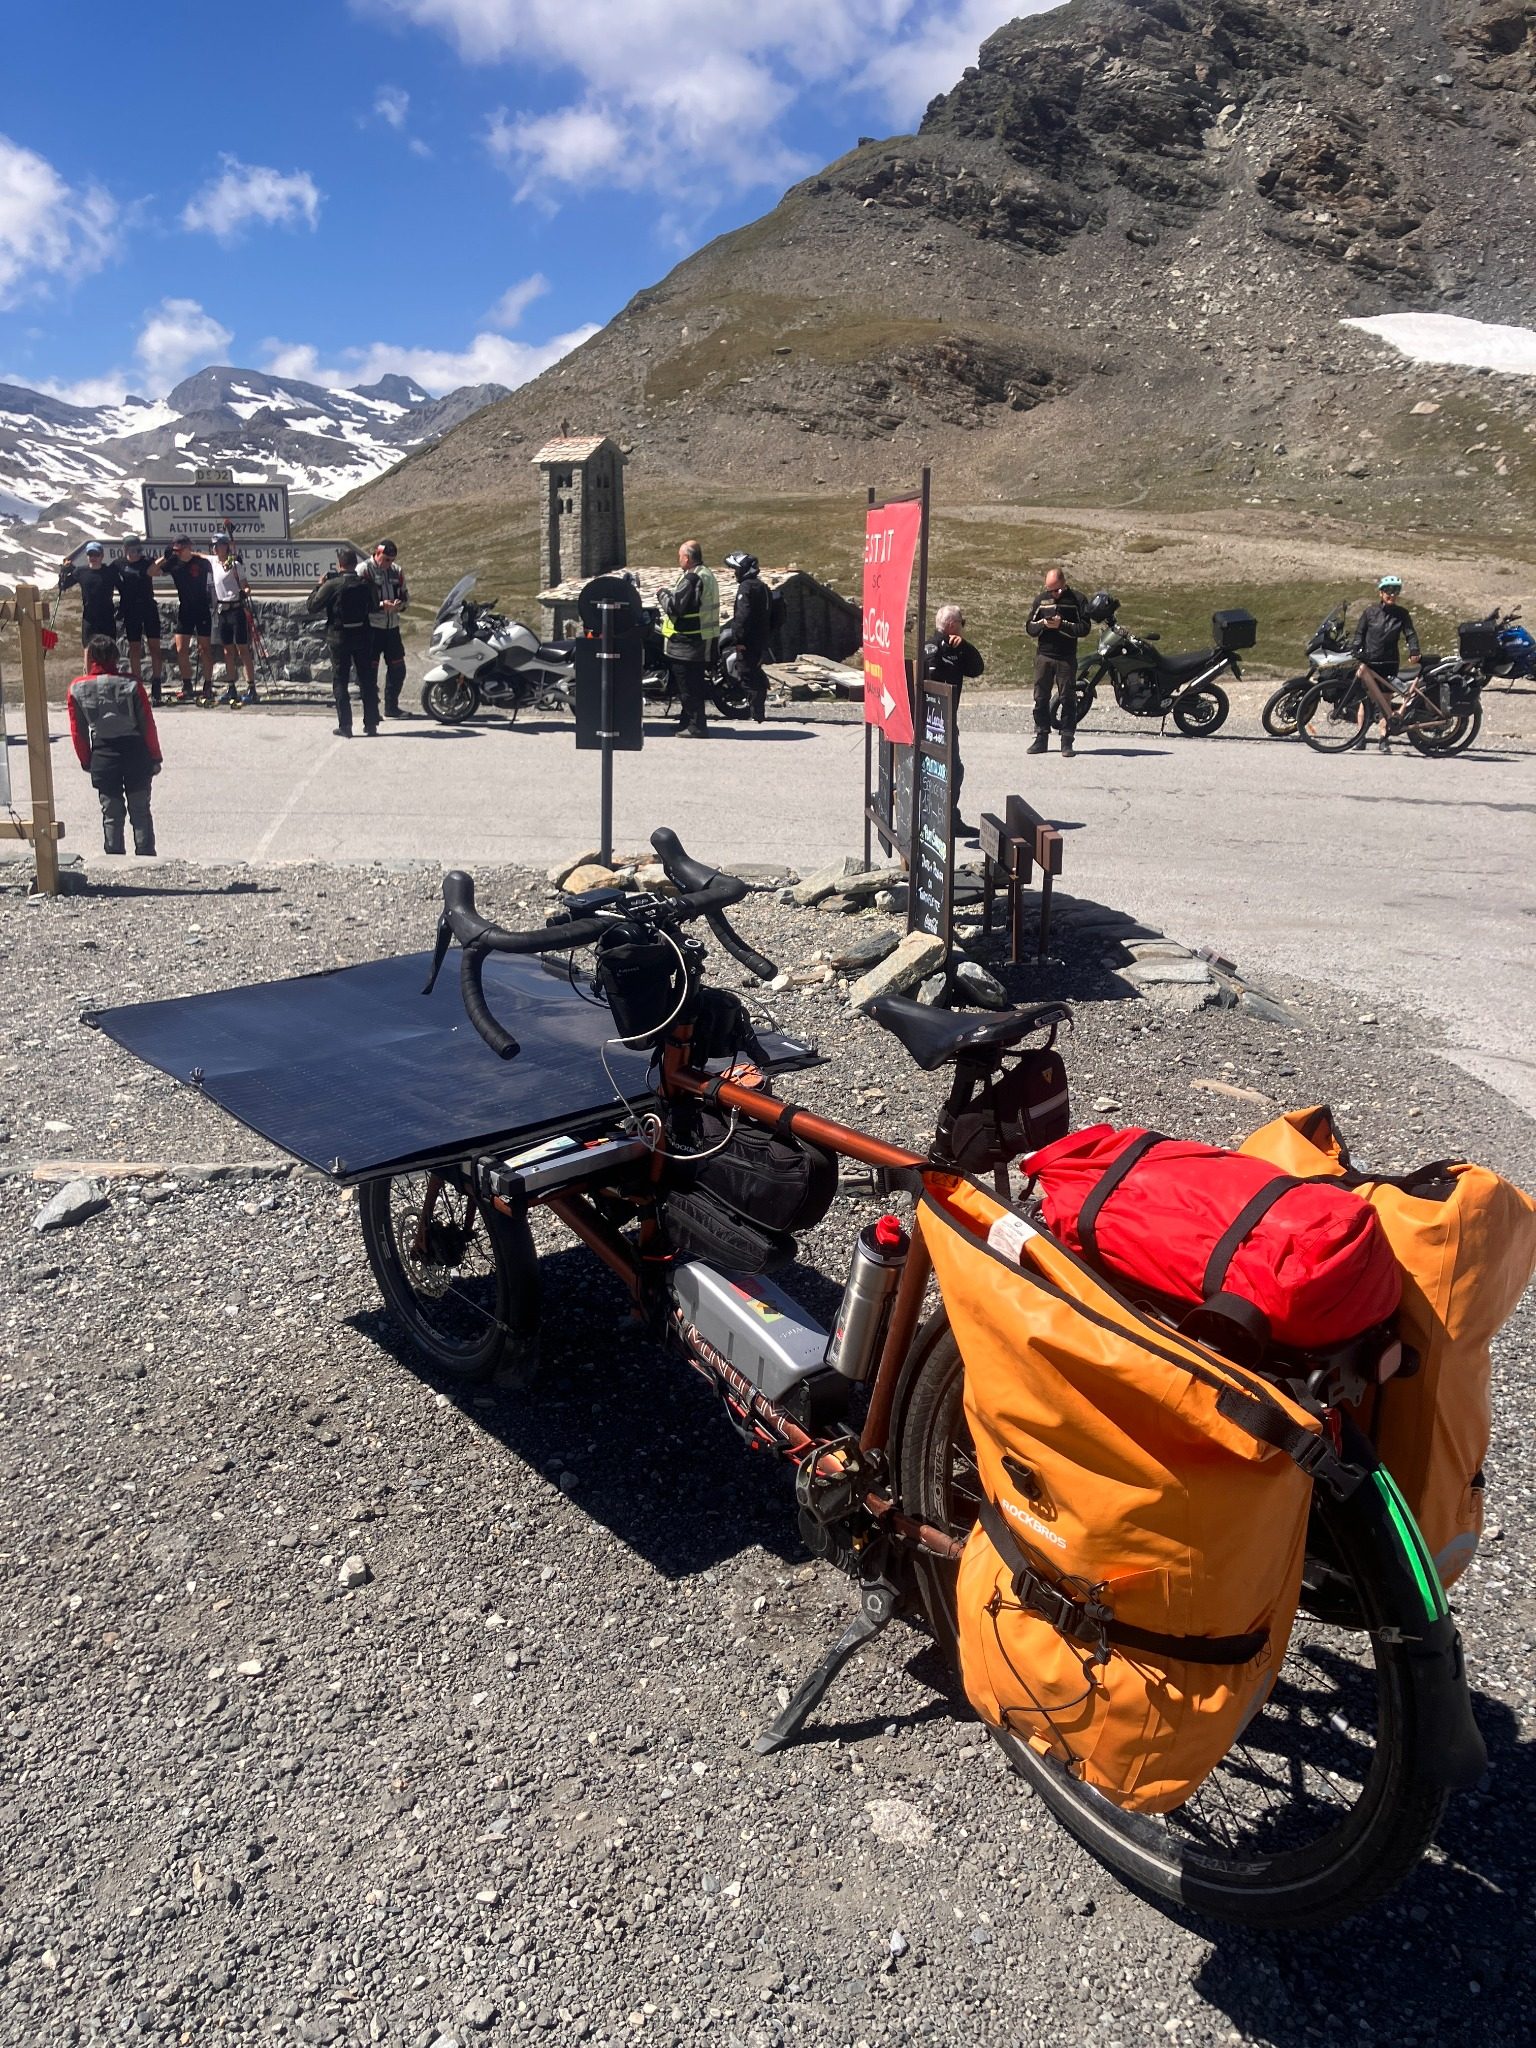
1. Start with the Right Bike
The bike itself isn’t critical, but you do need somewhere to mount the solar panels securely. A good quality bike with a strong frame and decent components will save you in the long run. Buy a good bike.
For my build, I used an Omnium cargo bike because the front rack provided an ideal platform for fixed solar panels and it rode brilliantly.
A trailer is another popular option and offers more space for larger panels.
I like the Omnium because it was simple to fix and easy to manoeuvre, and can be used as a daily commuter when not with the solar panel. Also, it looks cool.
The mounting method will depend on your bike, your route and how much power you want to generate, so I won’t cover the mechanical design in detail here.
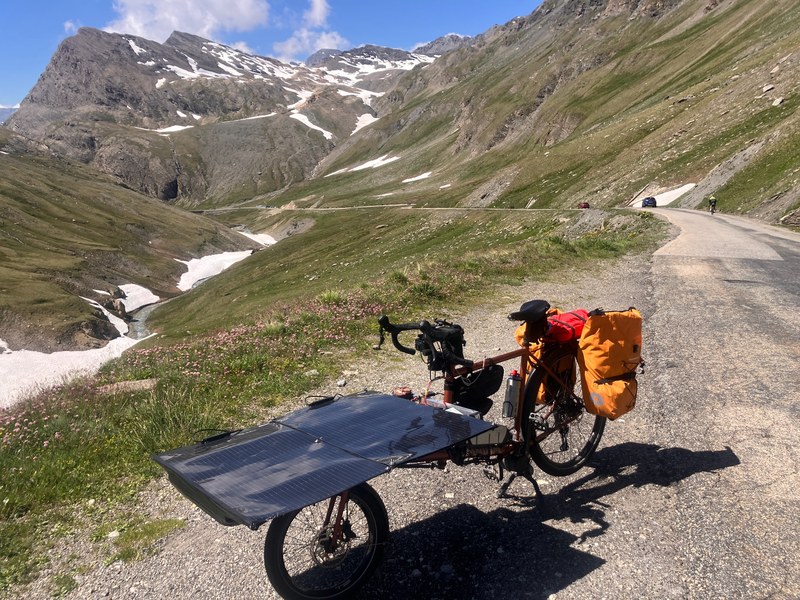
In the photo: my cargo bike with it's 200 w panels.
2. Skip the Inverter
One of the biggest misconceptions when building a solar bike is that you need: Solar panel → inverter → mains charger → battery.
You don’t. The approach works, but it’s heavy and inefficient because you’re converting the power several times. Instead, use an MPPT boost charge controller designed for solar charging. The controller takes the varying voltage from the solar panel and converts it into the correct charging voltage for your battery.
For my bike, I used a Genasun GVB-8 MPPT boost controller and tested an adjustable universal DC-DC MPPT boost controller. The Genasun is extremely efficient and well made, although considerably more expensive.
This became: Solar Panel → MPPT boost controller → Battery.
A lot more efficient with only a small energy loss.
My bike used a 36v battery and 250w middrive TSDZ2b motor kit matched with a Genasun GVB-8 Lithium 41.7 Volt MPPT.
When a 36v battery is full, the voltage should be around 42v, 41.7v leave's room for temperature variations.
How I Built a Solar-Powered E-bike for the Sun Trip
3. Check Your Battery First
Before connecting anything, check two important points with your battery manufacturer. Can the battery be charged through the discharge connector? Some battery management systems allow this. Others require charging only through the dedicated charge port. Both of the batteries I tested (Infinite and EV3-ev) allowed charging through the discharge connector, but this isn’t universal.
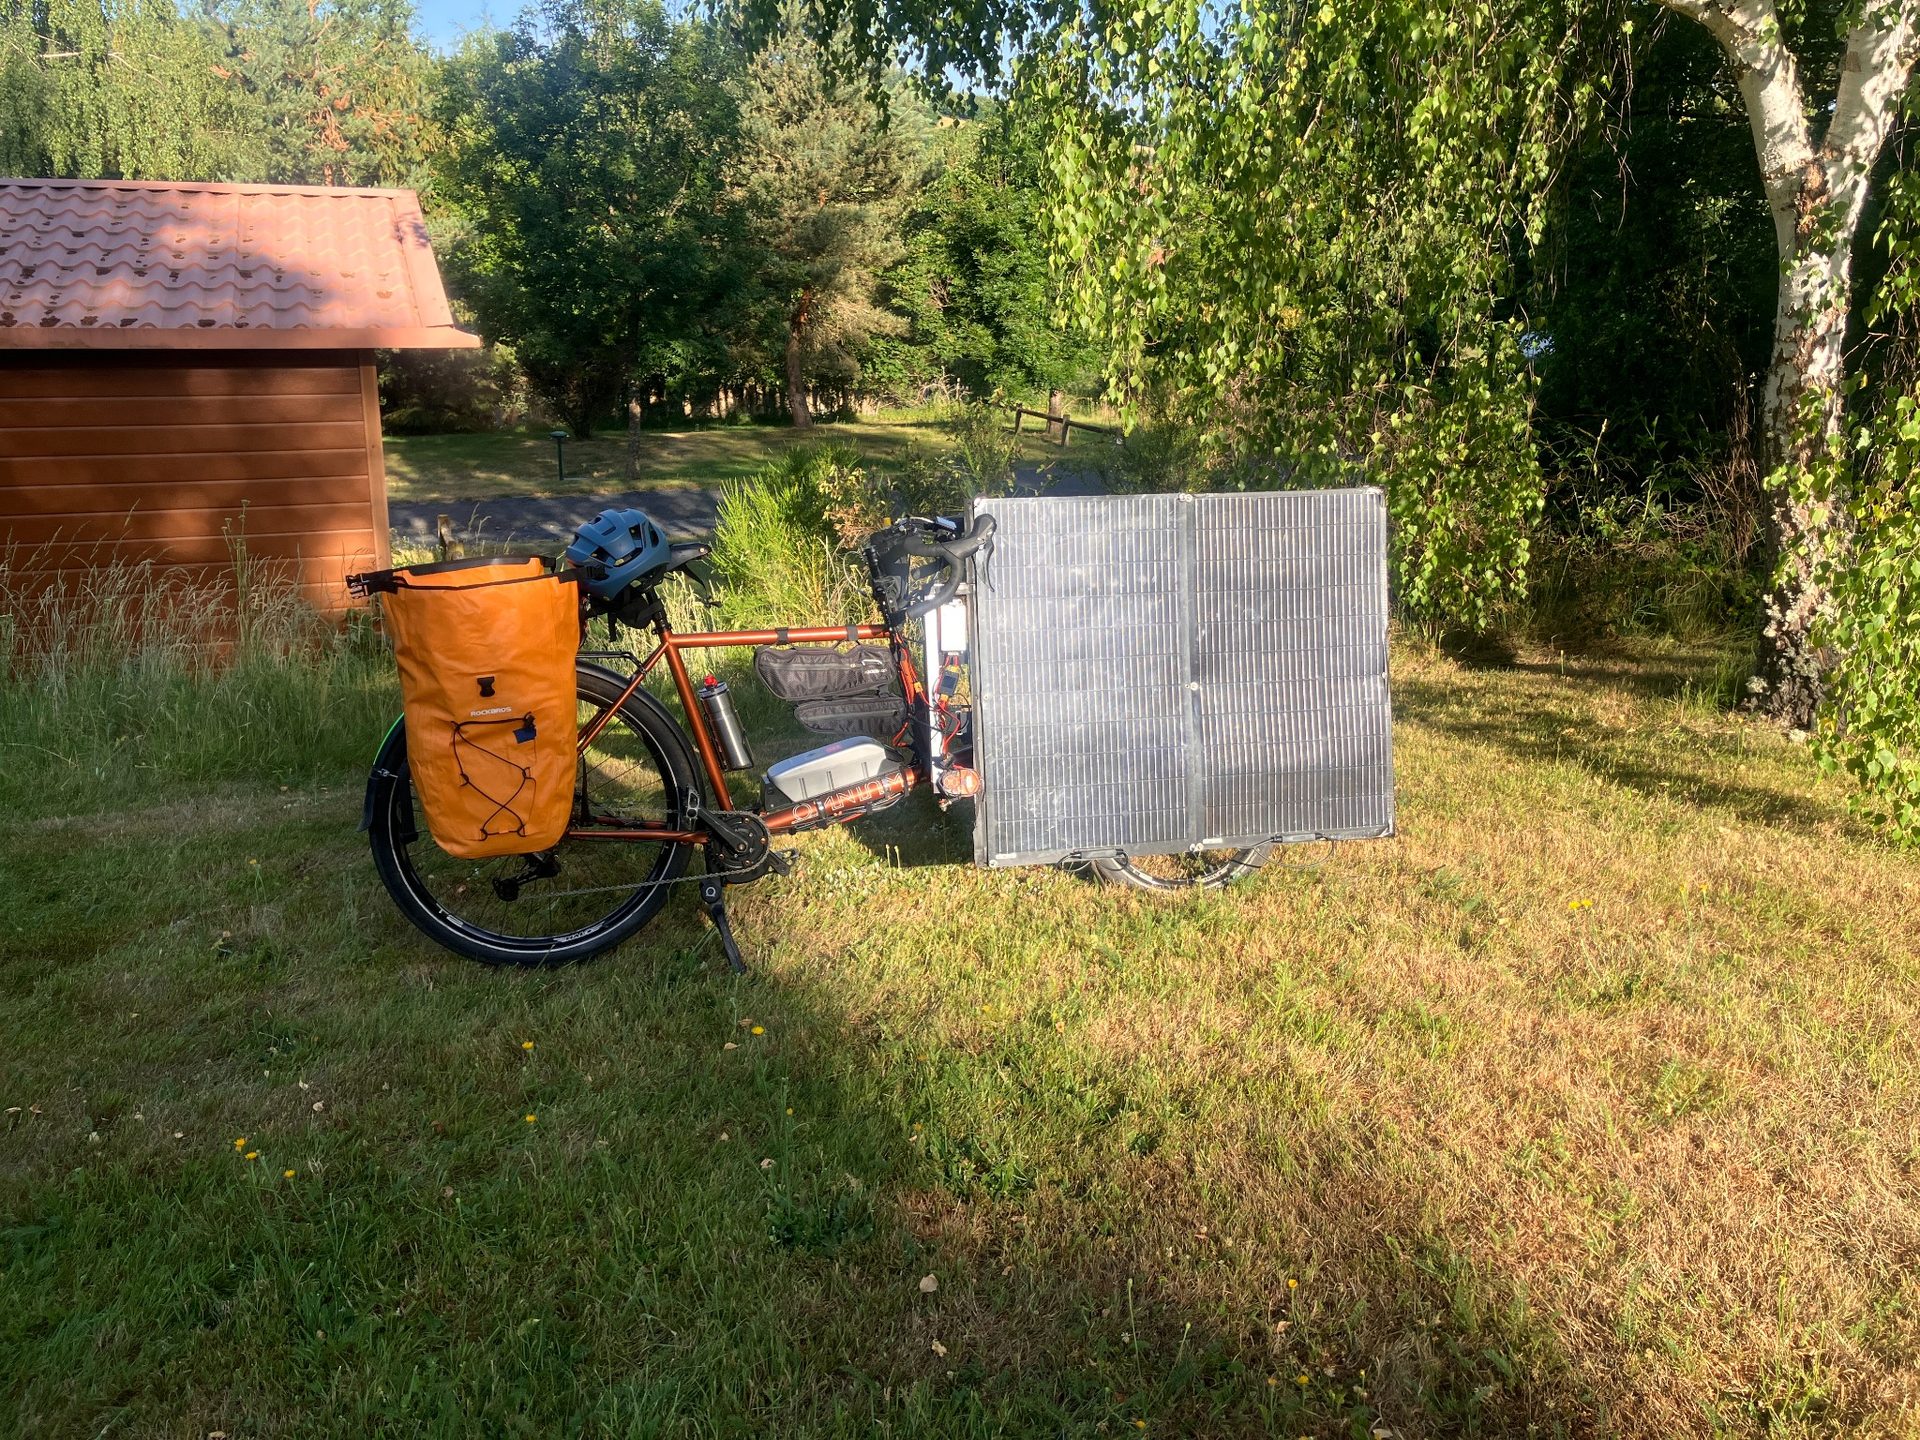
4. Can Your Bike Charge While Riding?
This is another essential check. Some e-bike systems allow the battery to be charged while simultaneously powering the motor. Many aftermarket systems, including Tongsheng, Bafang and numerous hub motor kits, appear to support this configuration. Some fully integrated systems, such as Bosch, may not, so always check before attempting it. Remember a fuse from the battery to the motor; most batteries have one built in, but it is good practice just in case.
5. Basic System Layout
The overall system is surprisingly simple: Solar panels to the MPPT boost controller, then to the battery and motor. In my setup, the solar charger is connected to the battery while the motor is drawing power from the same battery. When the motor requires more power than the panels can provide, the battery supplies the difference. When the panels are generating power, they reduce how much energy the battery has to provide. If solar generation exceeds the motor’s demand, the surplus charges the battery.
6. How Efficient Was It?
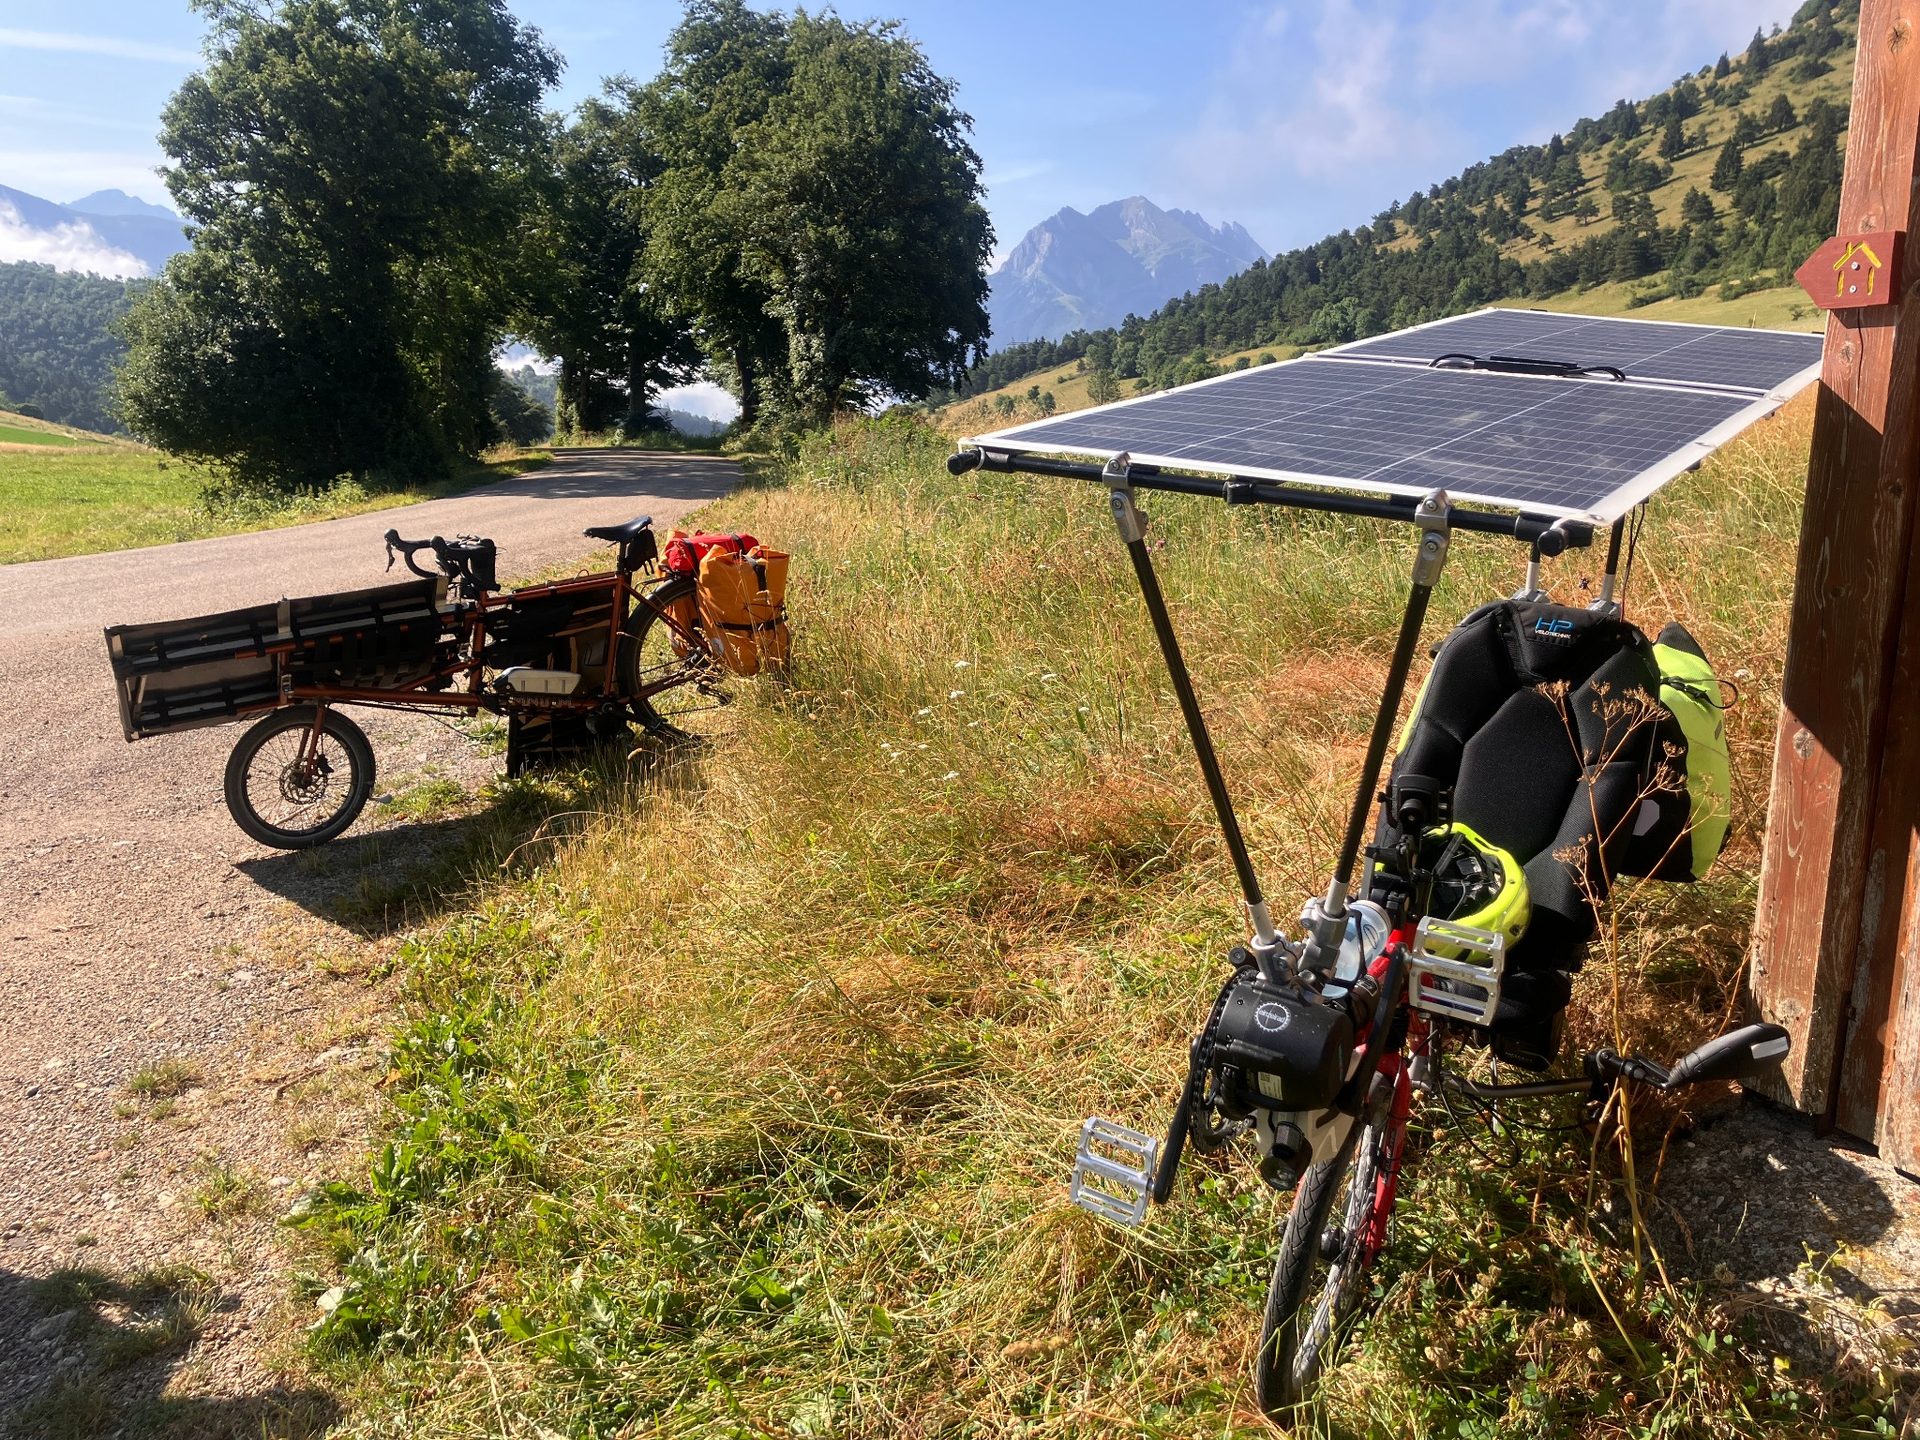
This is where the testing became interesting. During UK testing, my fully loaded bike at 61kg consistently used around 10-12 Wh per mile. The bike carried approximately 200 W of fixed solar panels on the front rack. In reality, while riding, they typically produced around 70–100 W depending on the weather and the sun’s position. Although that’s well below their advertised rating, it still makes a significant difference over the course of a day.
I also carried a third solar panel. Whenever I stopped for lunch or a break, the panel was used as a stationary charger. With all three panels positioned towards the sun, the system typically produced around 150 W. Those lunch stops added a surprising amount of energy back into the battery over a full day’s ride.
Omnium cargo bike from Paradise Cycles
Tongsheng 36 V TSDZ2B 250 mid-drive by Varstrom
36 V batteries from EM3-EV and Infinity.
Three 100 V solar panels. (from Amazon)
Solar charger from Genasun MPPT GVB-8 41.7v
XT60 connectors and bladed fuses
Race Mechanic Antony Bikes love you
7. Is it worth doing?
Well, it depends on what you want to do.
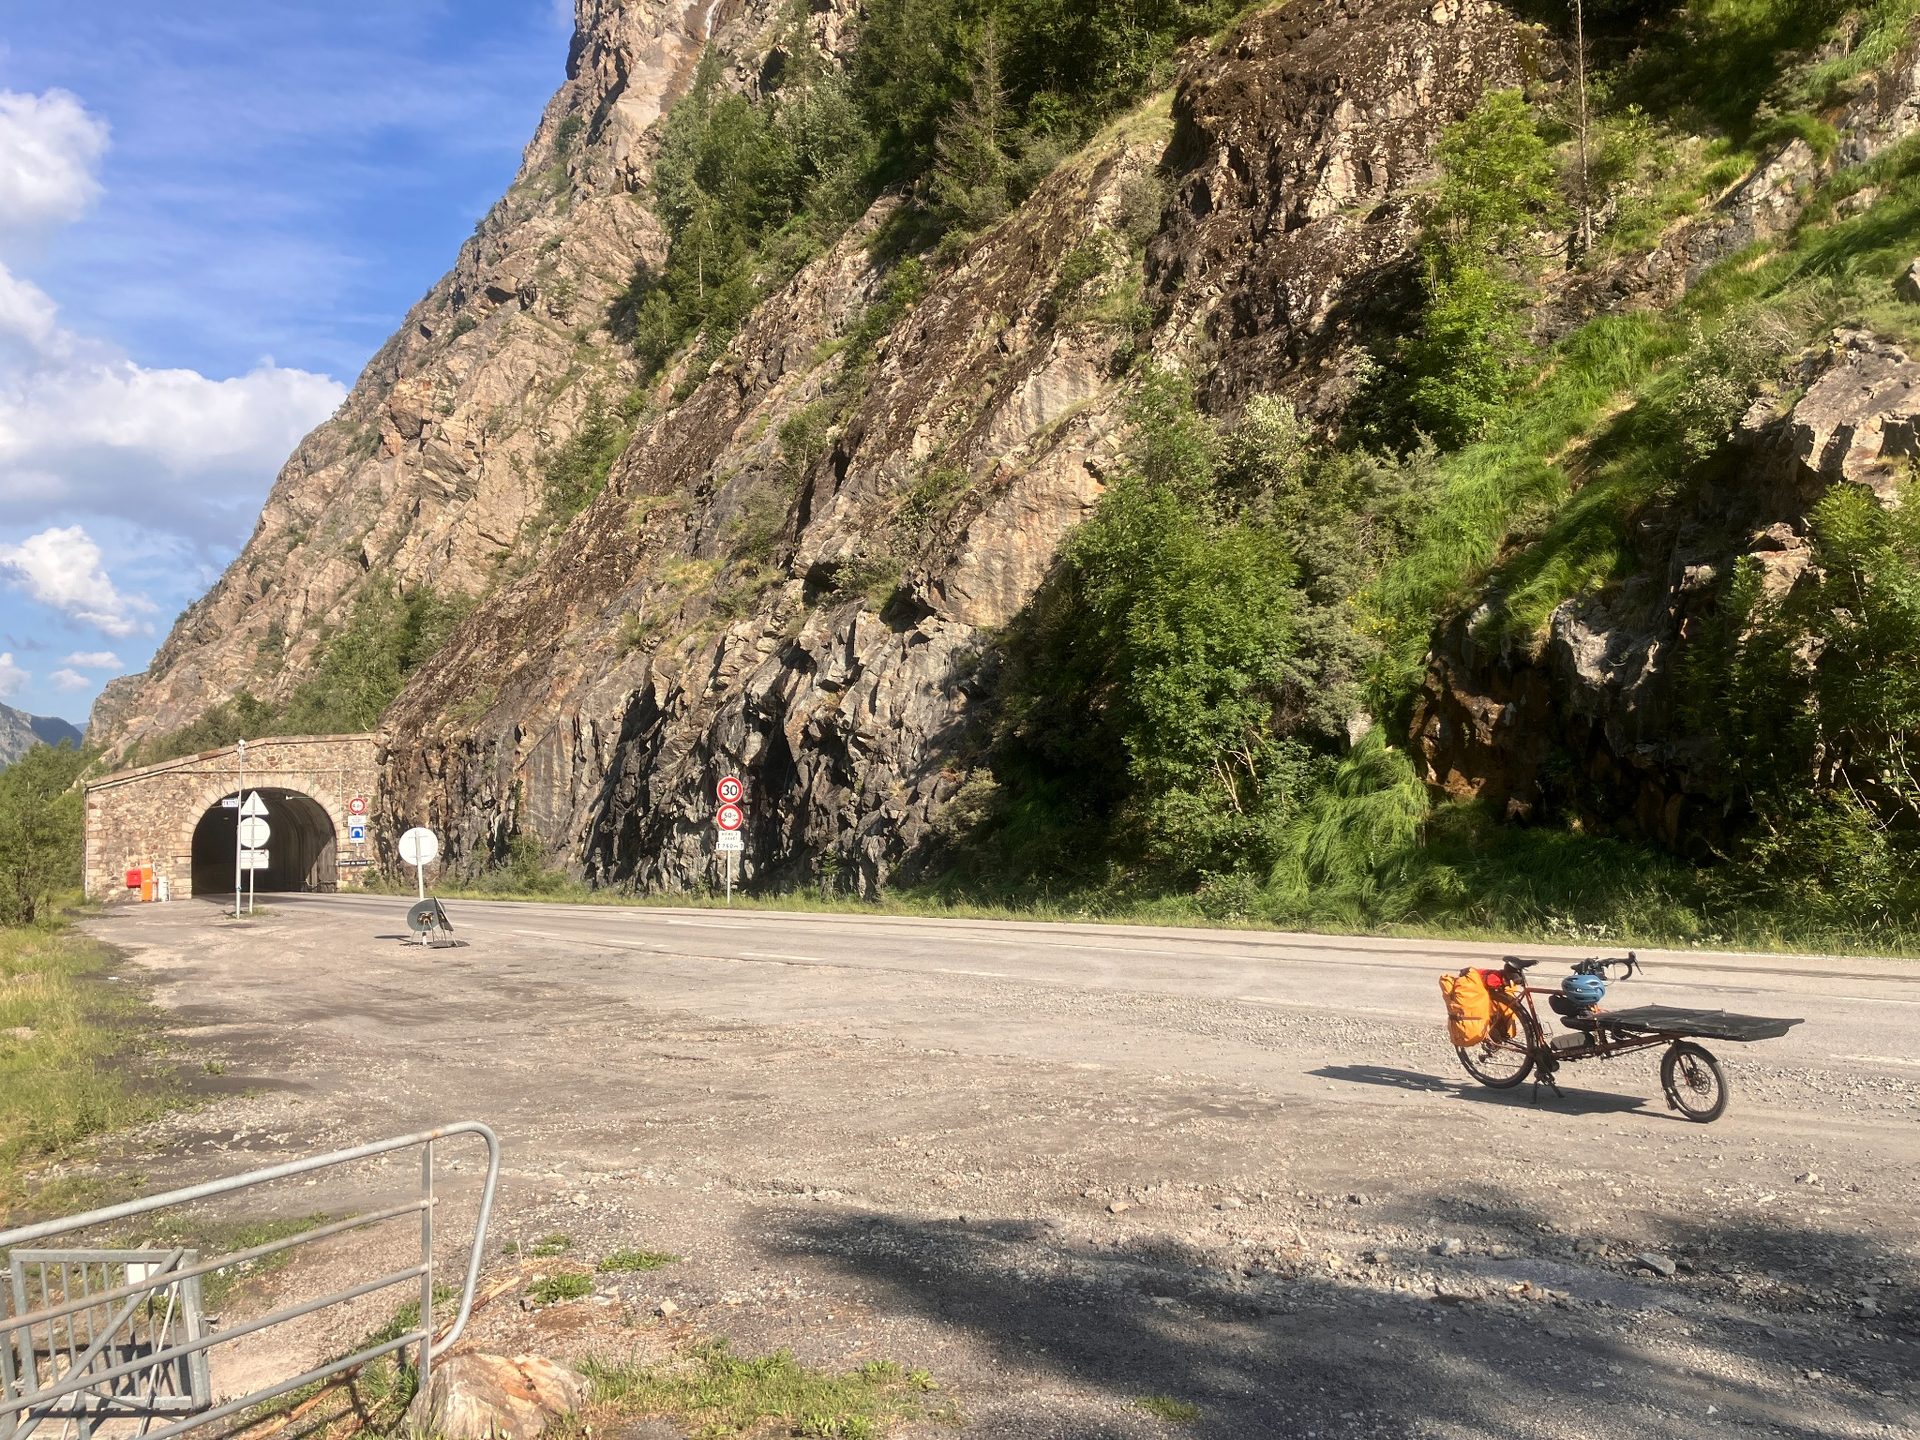
My longest days during the Sun Trip covered approximately 130 km across very hilly terrain with a mountain or two thrown in.
Before setting off, I reset the energy meter connected to the output of the MPPT charge controller.
By the end of the day, it had recorded 985 Wh of usable solar energy delivered into the bike's electrical system.
The battery started the day fully charged and, after solar charging again in the evening, finished the day at full capacity.
That meant the battery's state of charge was effectively the same at the beginning and end of the day. allowing the day's energy requirement to be estimated from the solar input.
The result worked out at approximately 7.58 Wh per kilometre over the 130 km route.
What impressed me most wasn't just the efficiency figure. The bike was fully loaded with camping equipment, camera gear and the solar array, yet I still averaged 21–22 km/h over the course of the day.
The route included significant climbing during the French heatwave, with temperatures reaching around 41°C at points.
Without electric assistance, I wouldn’t have made it.
The solar system didn't make the ride effortless; it was still hard, but it continuously reduced the battery's workload while riding and recovered energy whenever the bike was stationary. Over the course of a full day, those small gains added up to make a significant difference.
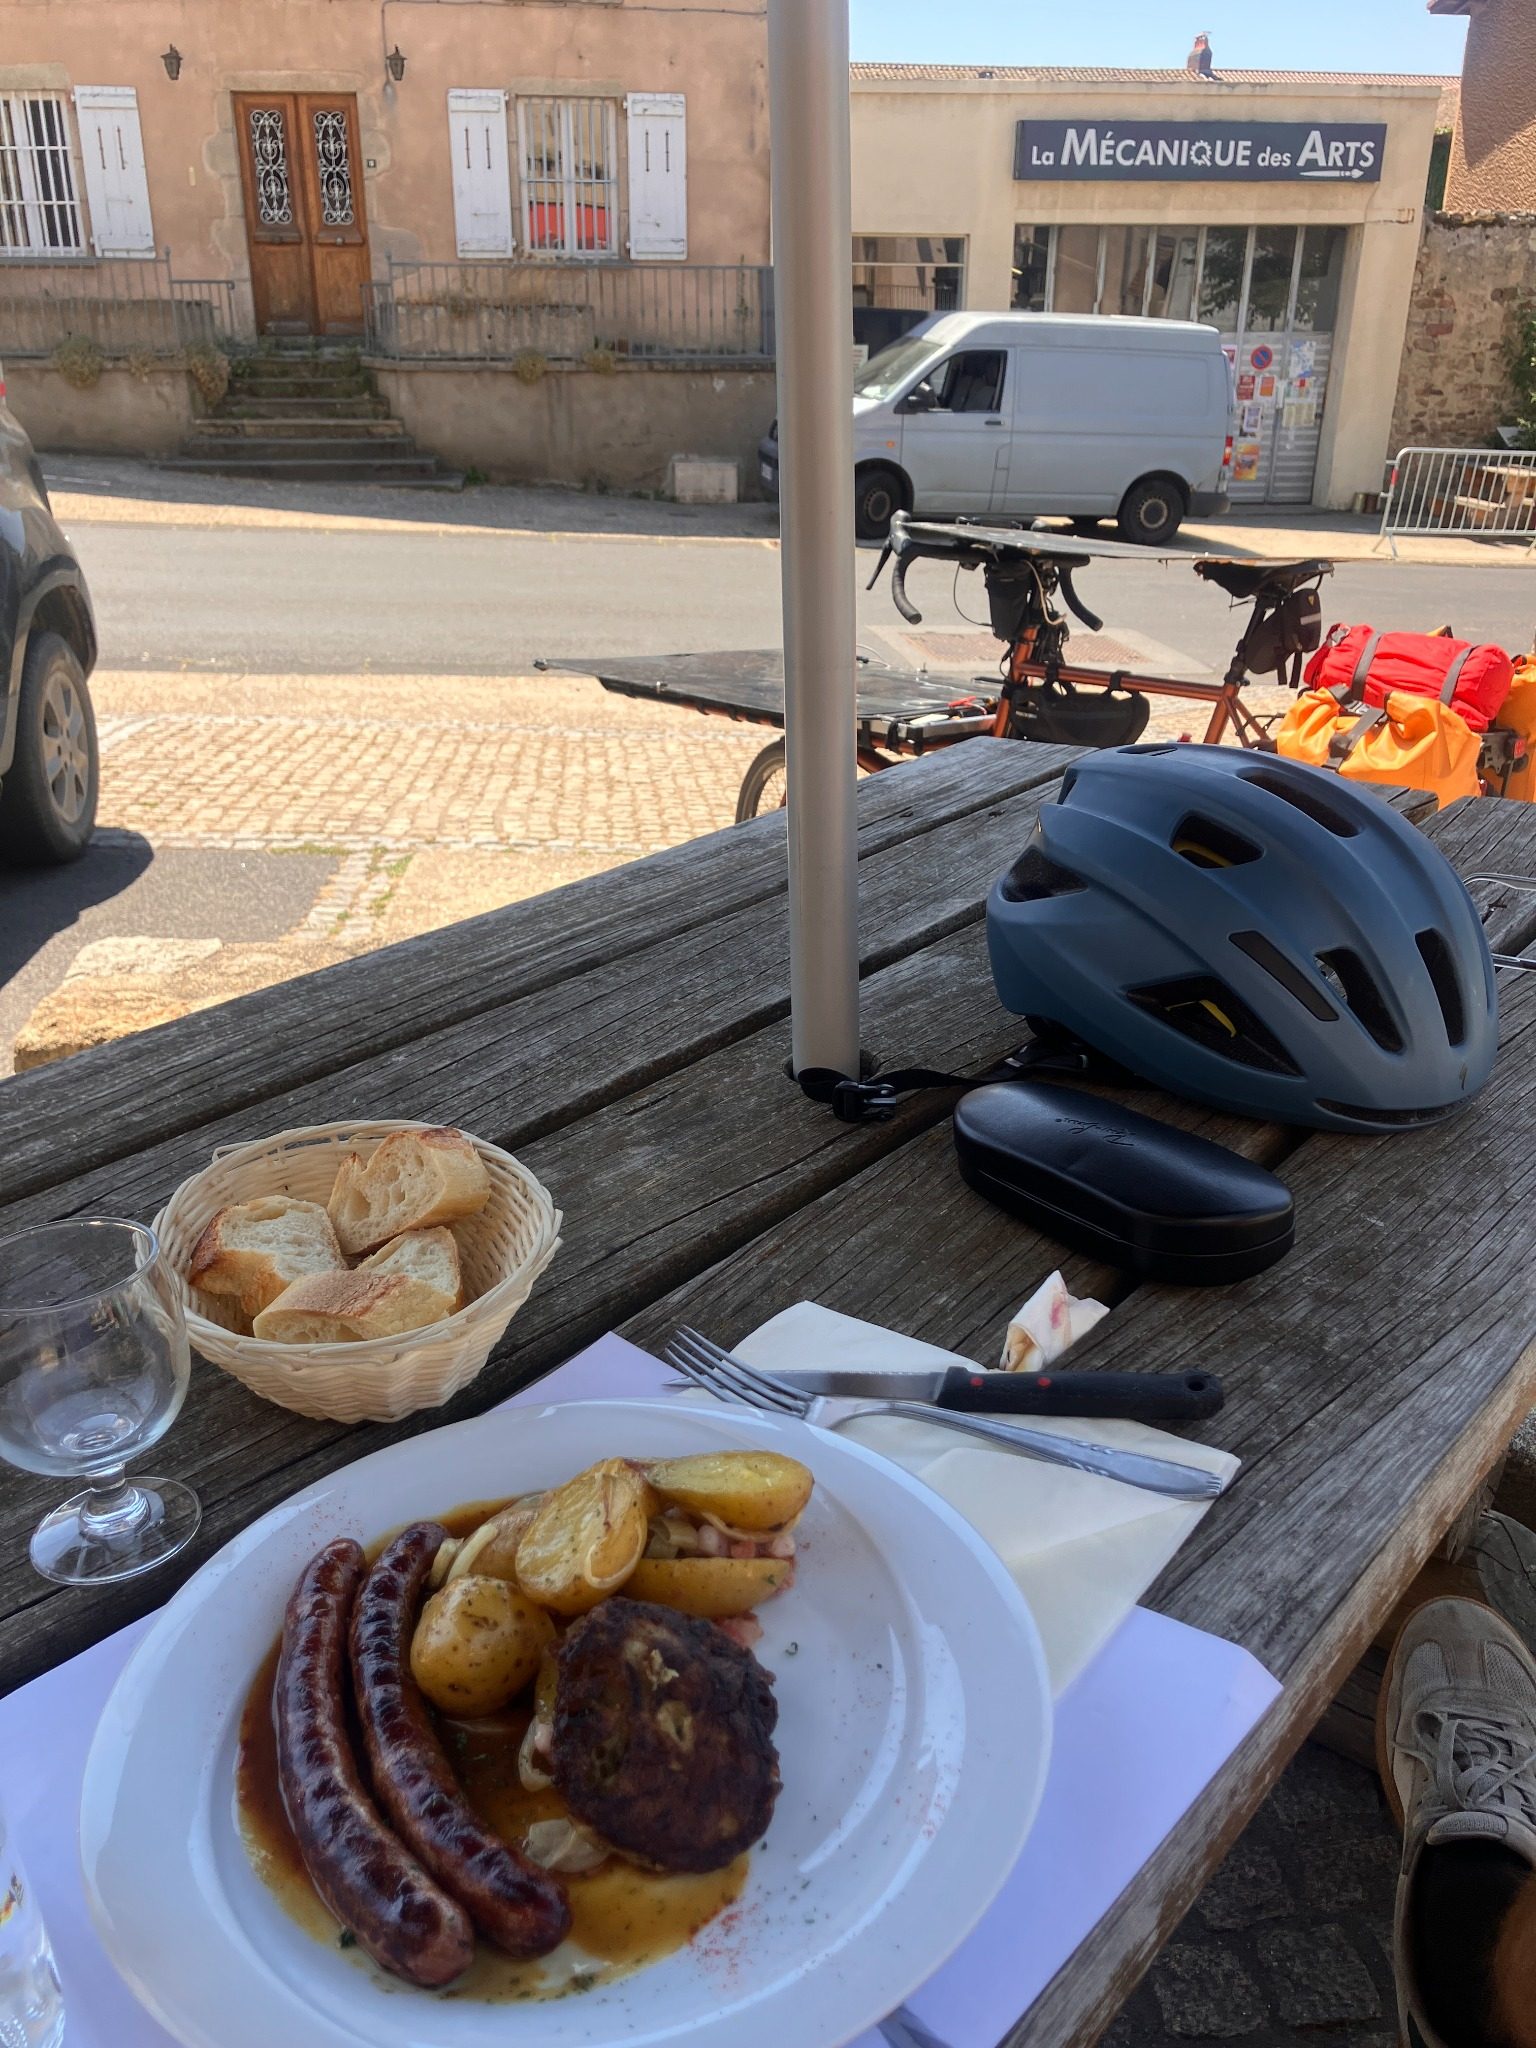
It was really good for morale too, when you’re sat in the shade having a good lunch in a lovely French village watching your bike charge up, ready for the next leg.
Now I could have charged up every night and taken an extra battery. So where does it fit in?
I think the setup is for the real adventures, riding big distances, camping in the wild.
If you want to ride a bike to China, a solar-powered e-bike is a good choice.
Also, being part of the Sun Trip, I felt like a pioneer of solar transportation. You saw people's eyes light up when they saw the possibility, or they thought you were mad.
8.What's next
The adventure is not finished. I plan to improve the bike. Higher-efficiency and lighter solar panels; I have been introduced to SunPower PV cells.
Improve the mid-drive motor cooling for better efficiency.
I was impressed by the TSDZ2B; it did the job. I used the gears and spun up the mountains.
I really want to lighten the bike and luggage. Coming in at 61 kg, it was one of the lighter bikes, but need's to be 10 kg lighter, with less packing. Improve the aerodynamics next. Change the luggage location and remove the panniers. Keep the drop bars, add suspension forks, and it will be ready for the next solar adventure.
I don’t think it will ever be as fast as the recumbents and trikes, but I like it's still a traditional bike and is manoeuvrable. You can ride it single track, on cycle paths, and it is not super heavy. Did I mention it looks cool too?
You got this far, well done. Check out my history of the Sun Trip here and their website here
My Instagram if you want to see more solar projects


