


CALL: 075 275 78428
How to Build a Solar-Powered Long-Term Time-Lapse Camera
How to Build a Solar-Powered Long-Term Time-Lapse Camera
How to build a Solar-powered timelapse camera by filmmaker, photographer and Sun Trip 2026 participant Shawn Ryan
I started building long-term time-lapse cameras around 15 years ago, and this is based on one of the first solar-powered systems I developed when I was getting into long-term time-lapse.
The professional systems we build and use today have moved on considerably.
They're much more advanced, with remote control, image uploads, monitoring and a whole range of features that simply weren't available when I started. But if you want to understand how to build a simple, reliable and extremely power-efficient long-term time-lapse camera, this original setup is still a very good place to start.
When I first built these systems, Raspberry Pis and the small, inexpensive microcontrollers we have today weren't really a practical option.
I needed a straightforward way of controlling when a camera switched on and off, without having a computer running continuously and consuming power.
The solution was surprisingly simple: a solar panel, a 12-volt battery, a solar charge controller and an off-the-shelf programmable timer.
This system doesn't connect to the internet or upload photographs to the cloud. It just sits there and takes pictures. That simplicity is one of its biggest advantages. It's extremely power efficient and can be used to photograph a project over a year or even several years with relatively little to go wrong.
You do still need to visit the camera periodically. Over a long installation, someone might knock it, an animal might interfere with it, severe weather can cause problems or water can eventually find its way into an enclosure.
But in my experience, the actual electronics of this basic system have proved remarkably reliable. I've never had one of these setups fail because of the fundamental design.
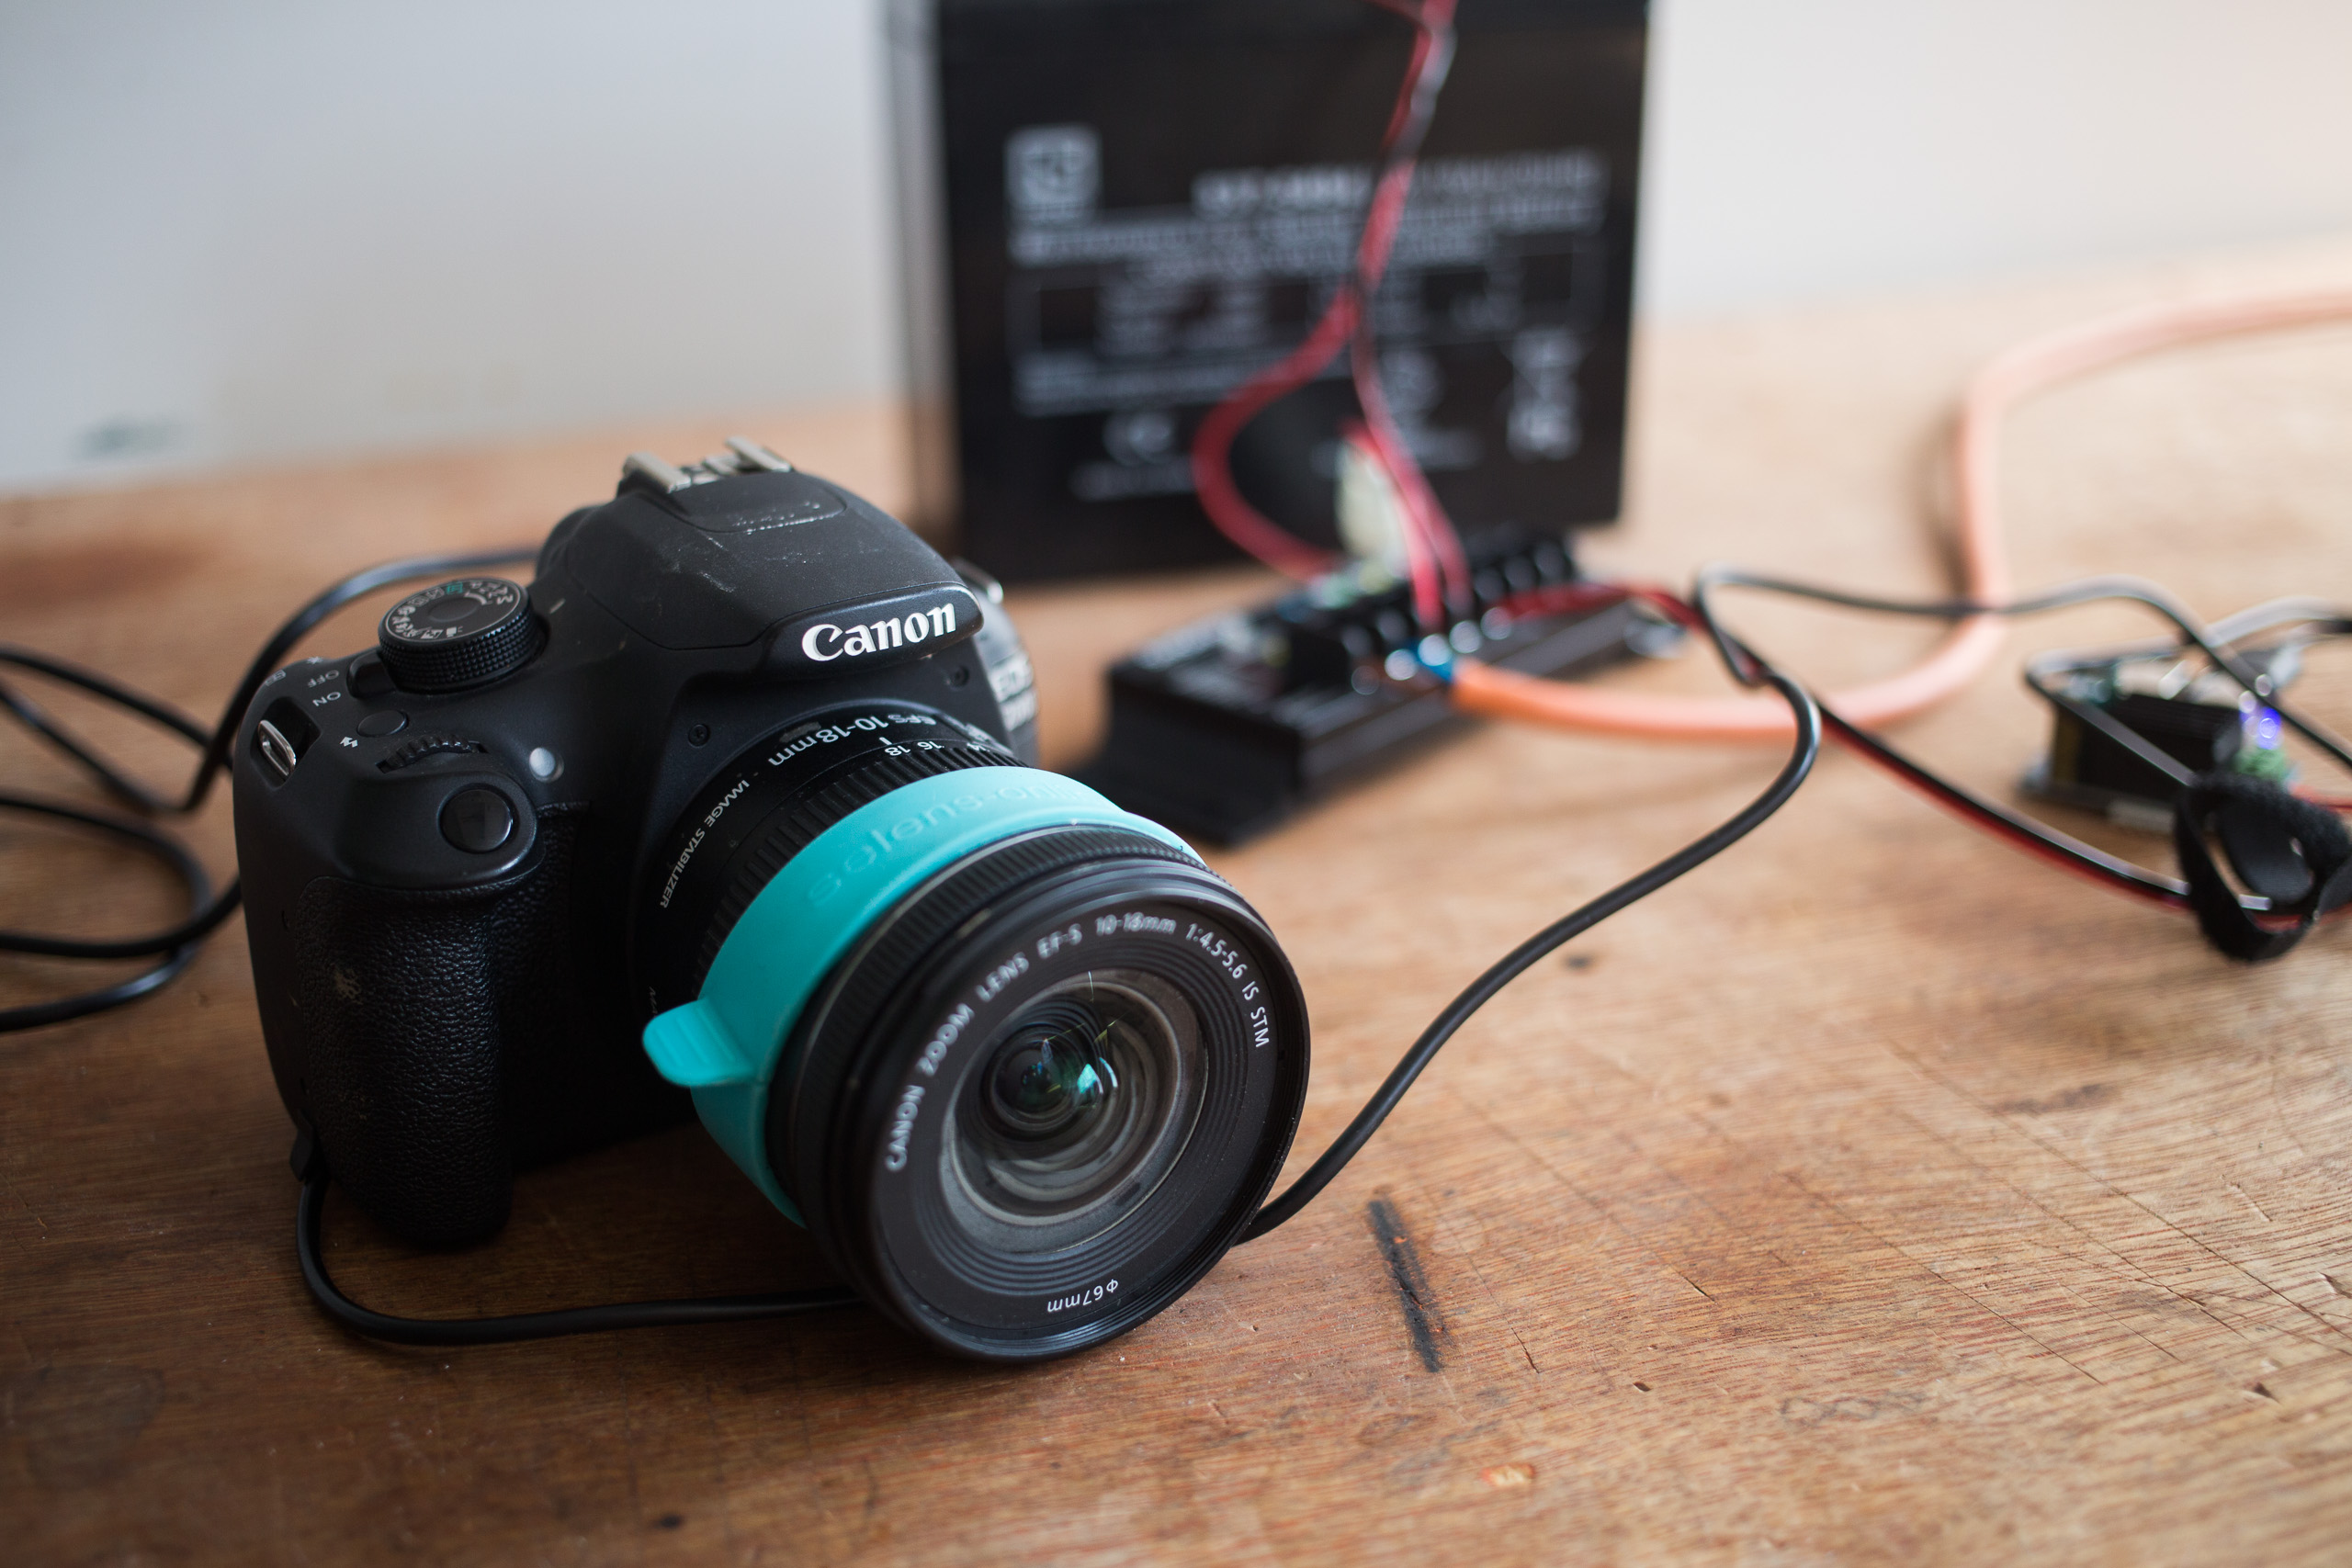
1. How the system works
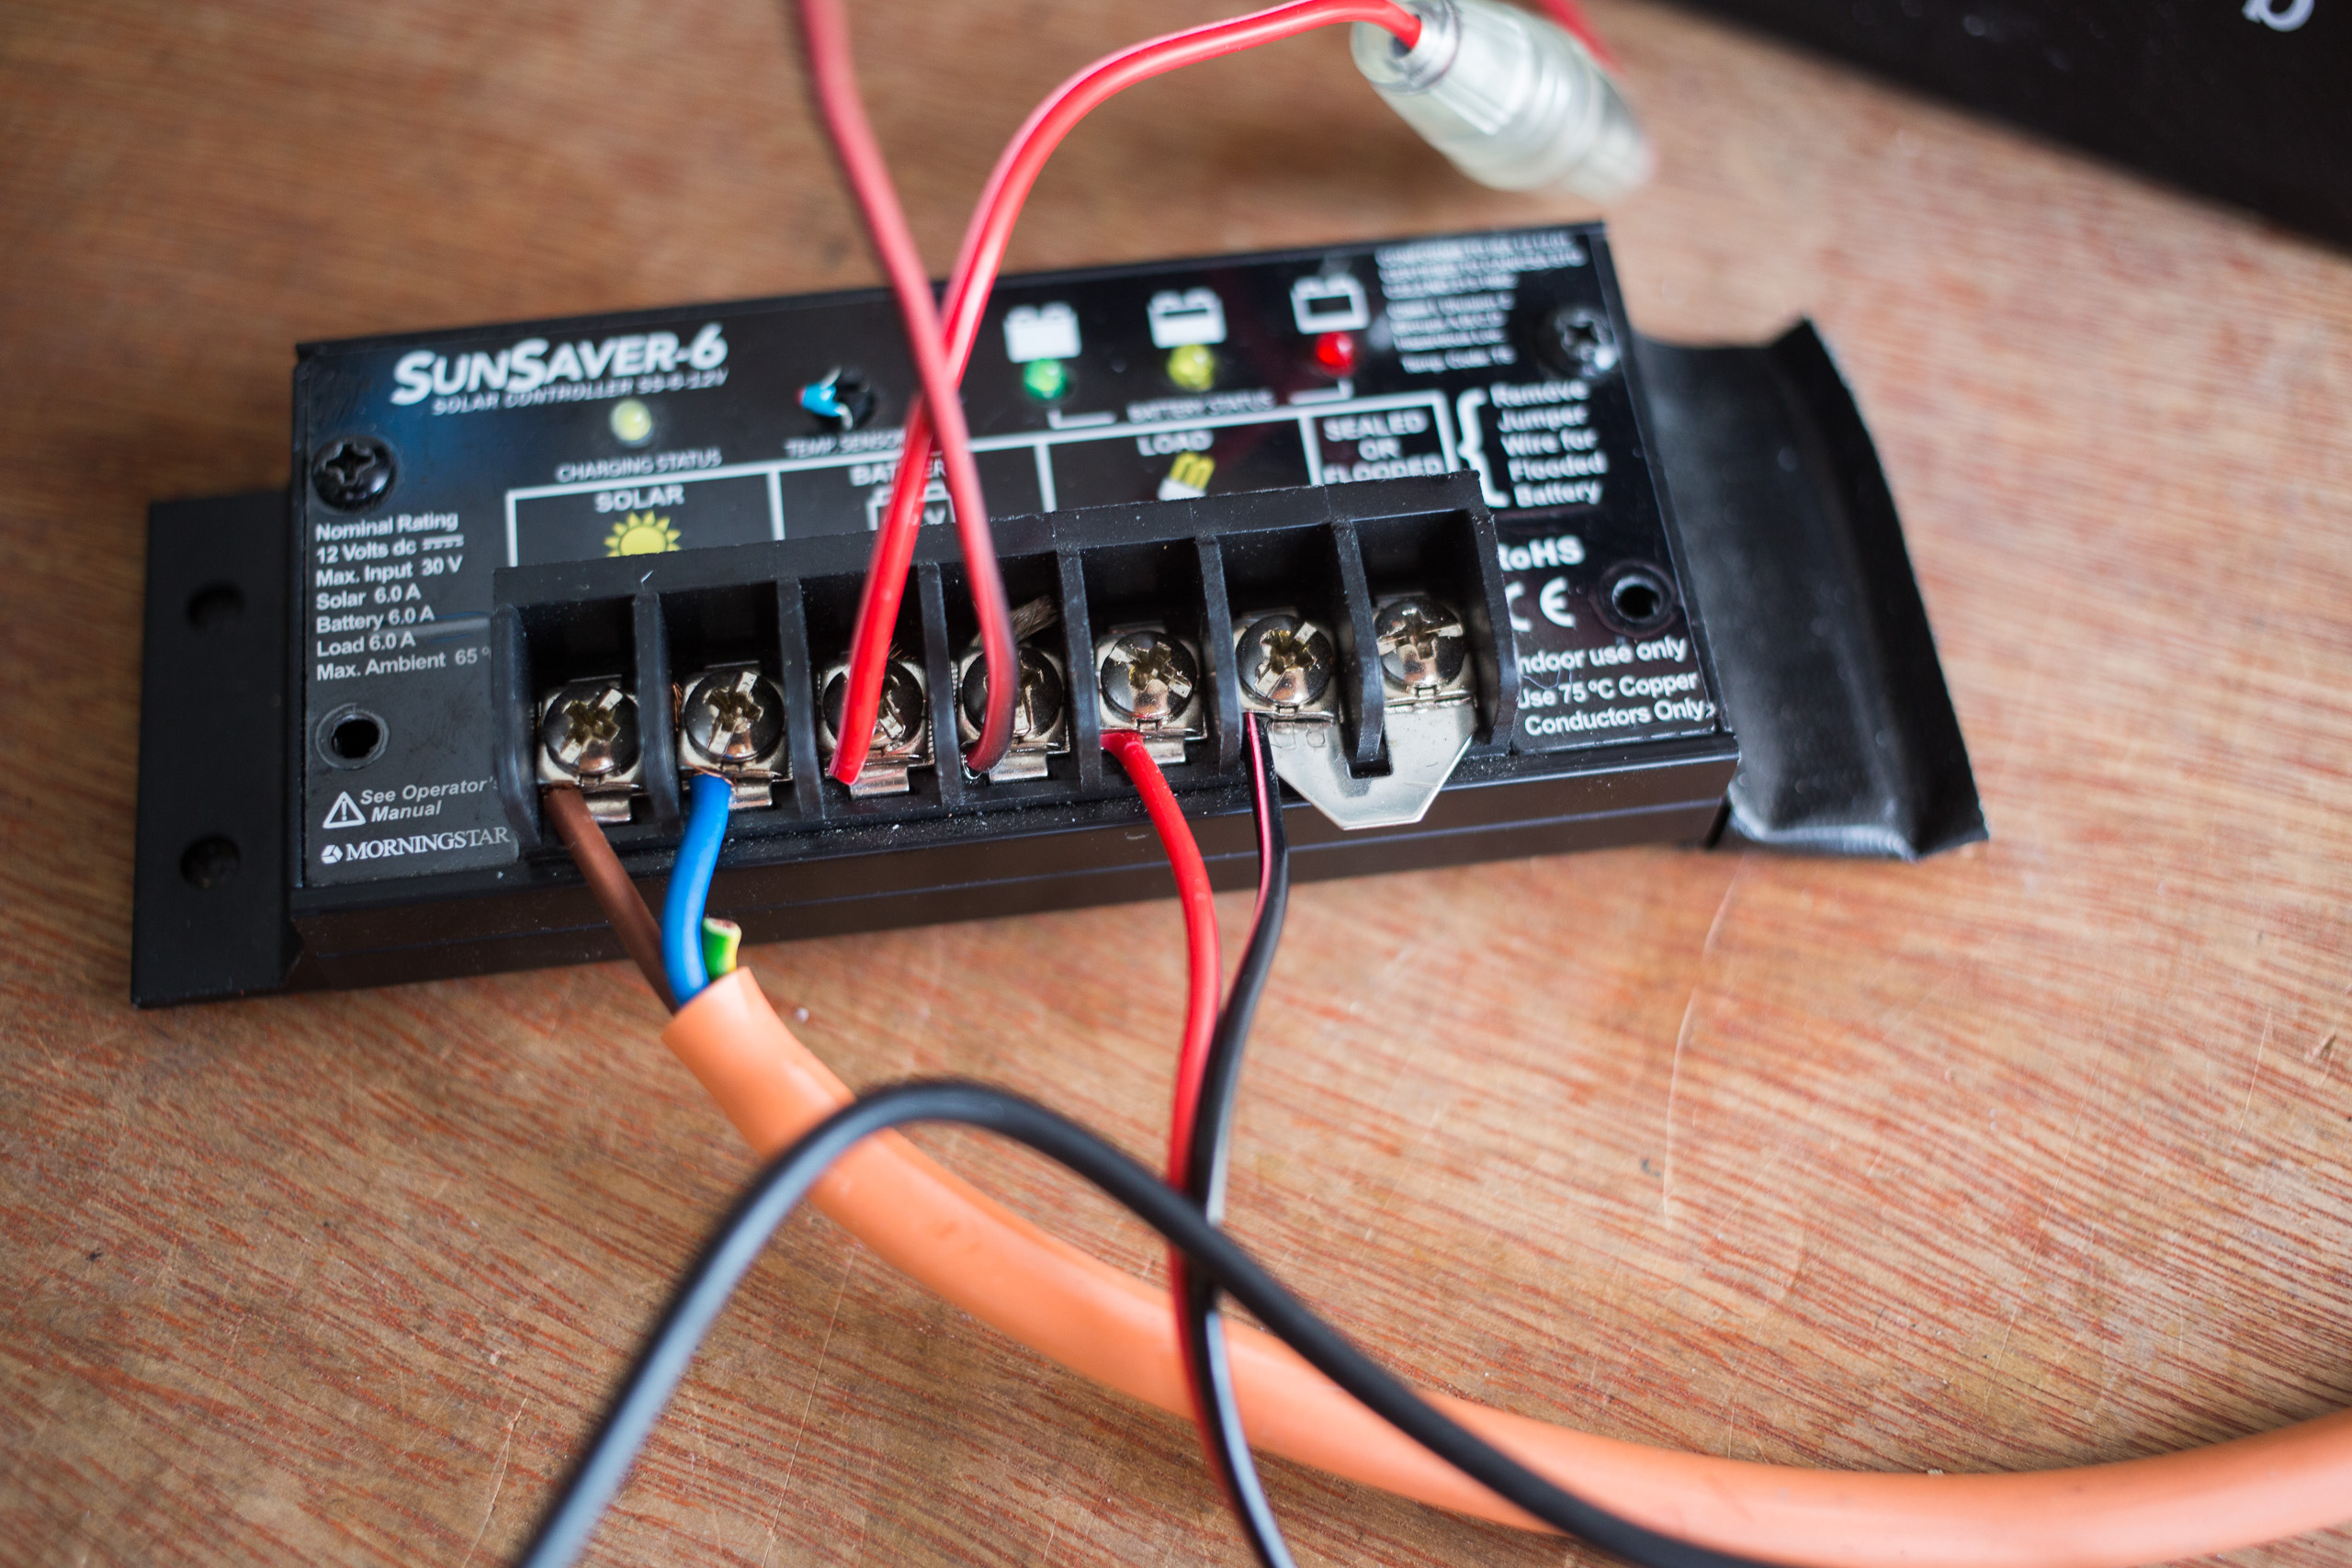
The basic setup is very simple. A solar panel connects to a solar charge controller, which charges a 12-volt battery.
The output from the charge controller then runs through a programmable 12-volt timer.
This allows you to decide exactly when the camera receives power.
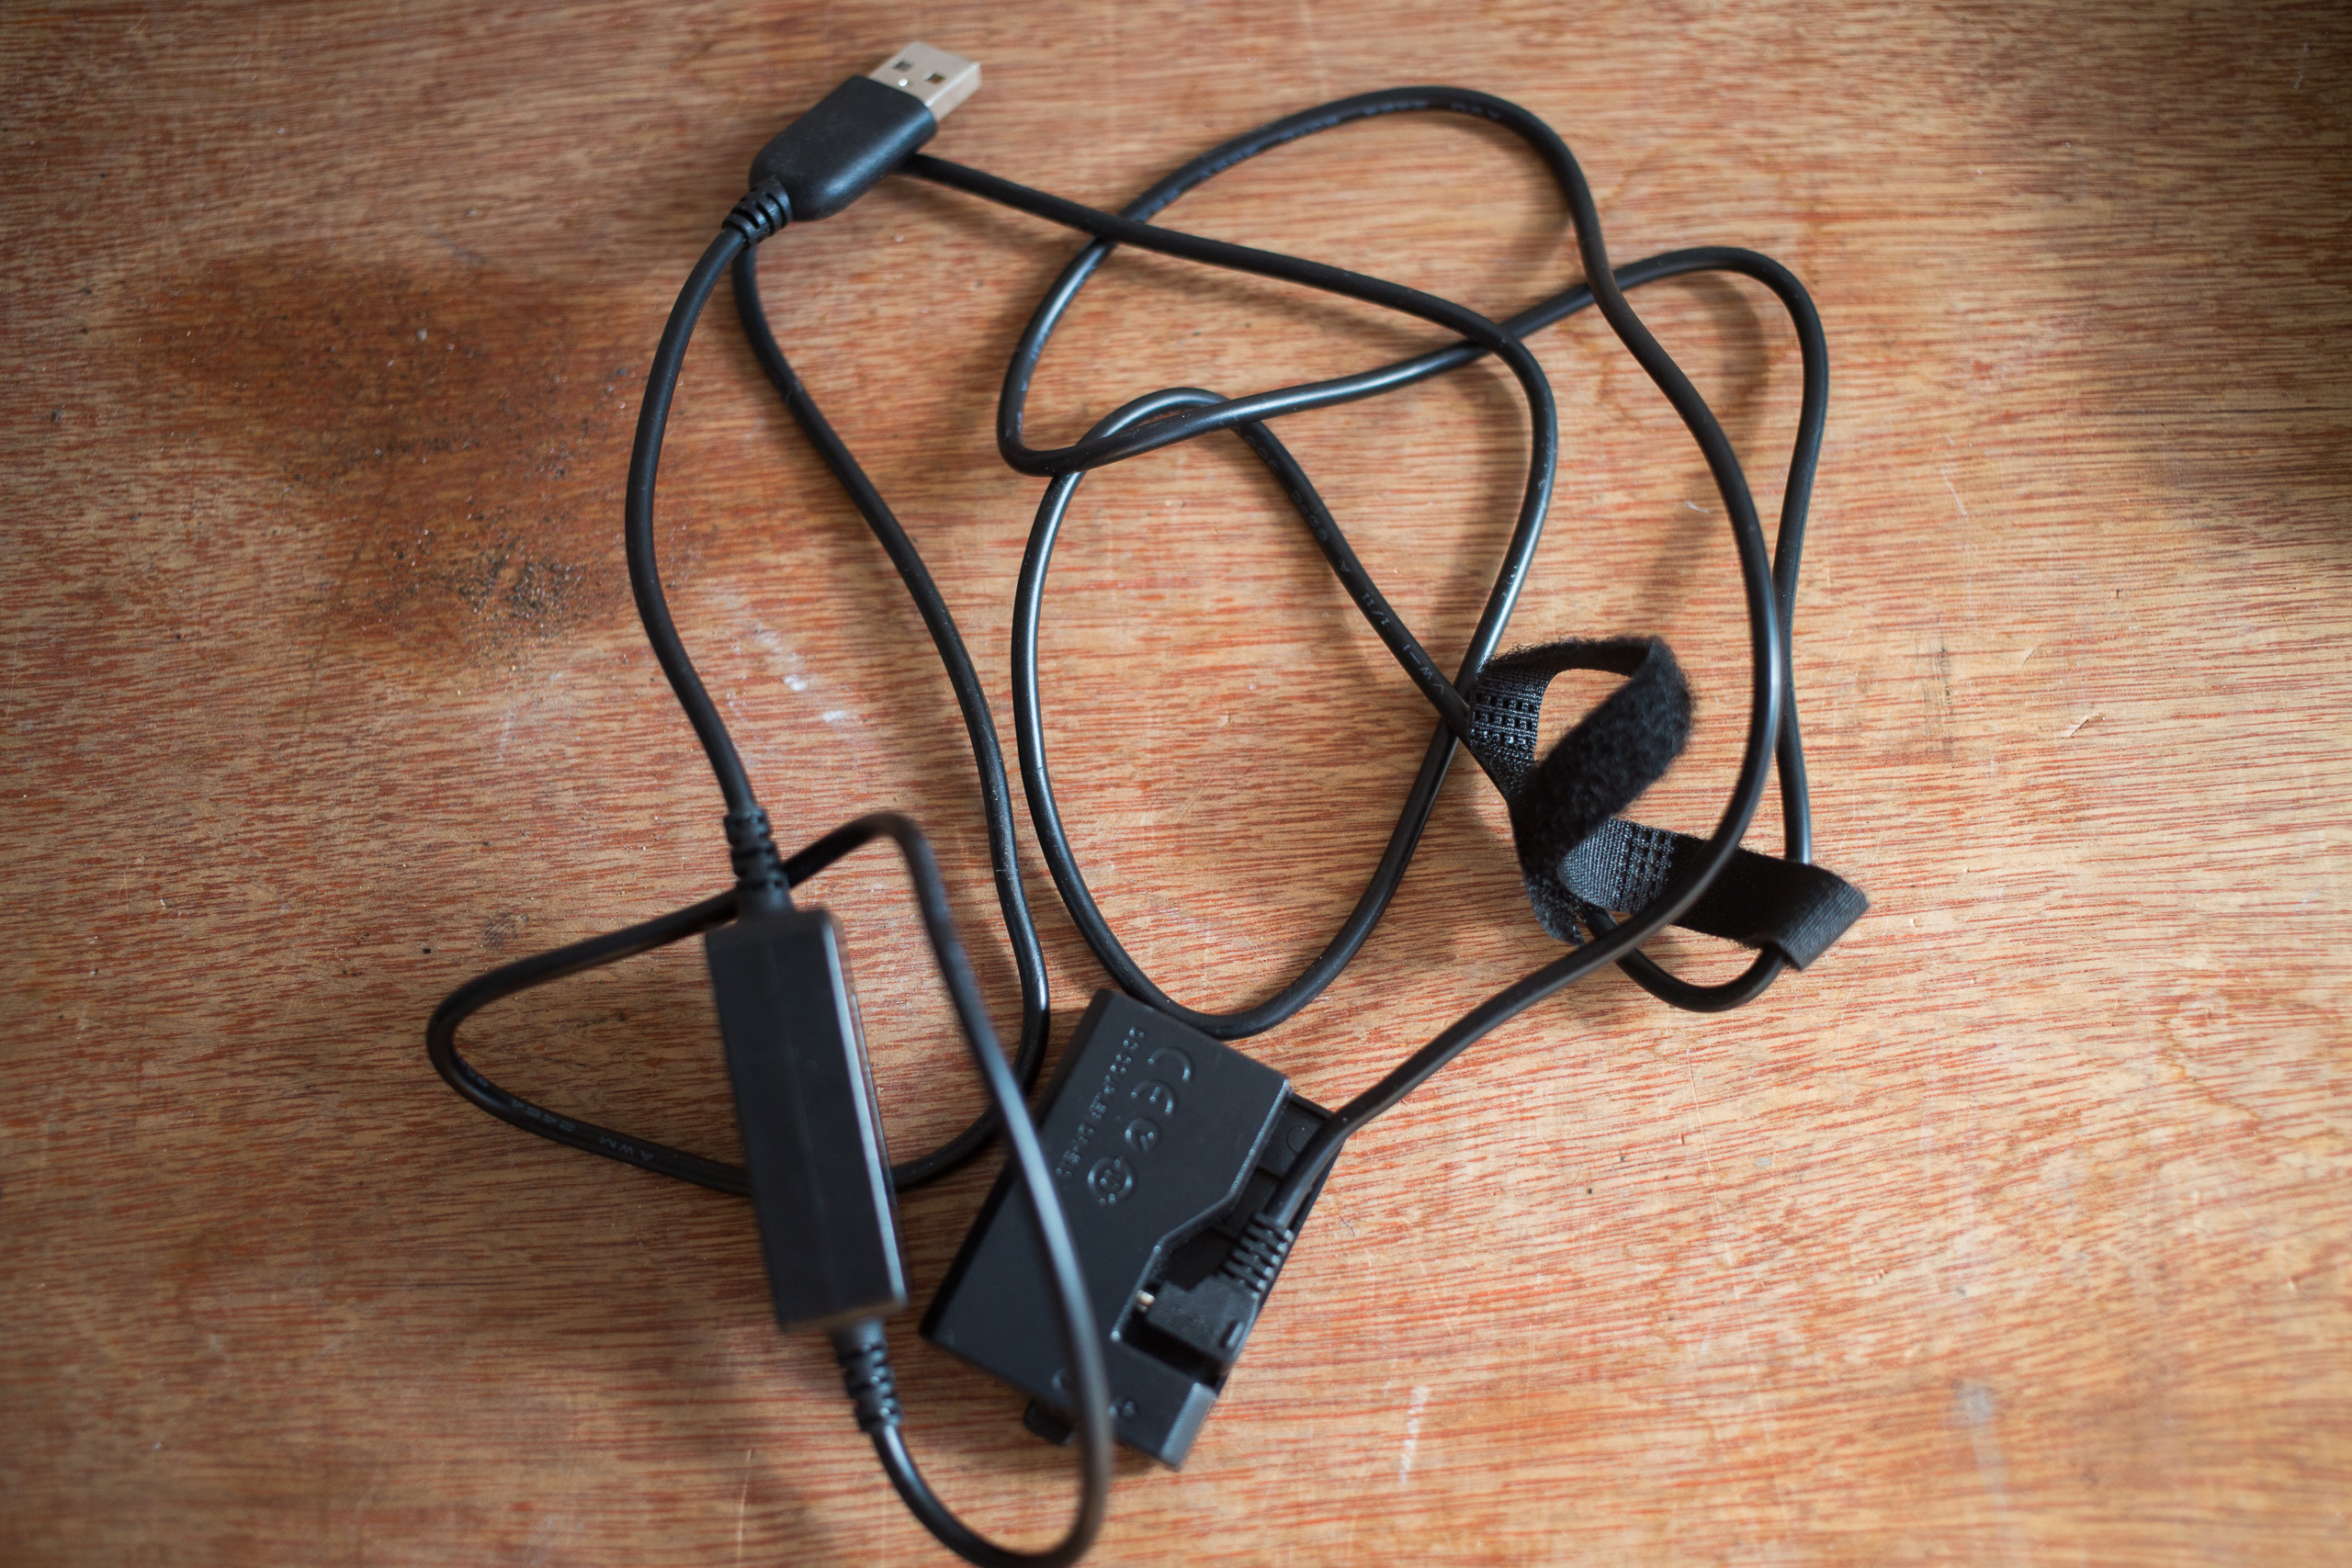
From the timer, the 12-volt supply goes into a DC buck converter, which steps the voltage down to 5 volts. From there, a USB dummy-battery adapter provides the correct regulated supply to the camera.
The basic power chain looks like this: Solar panel → solar charge controller → 12V battery → 12V timer → 12V-to-5V buck converter → USB dummy battery adapter → camera
It's important to fit a fuse between the battery and the charge controller. Don't leave this out. A battery can deliver a substantial amount of current if there's a short circuit, so the fuse protects the wiring and equipment if something goes wrong.
I generally use older Canon DSLRs for these systems, particularly the Canon 1200D. They're extremely cheap to buy second-hand now, the image quality is still very good for time-lapse, and suitable dummy-battery adapters are readily available online.
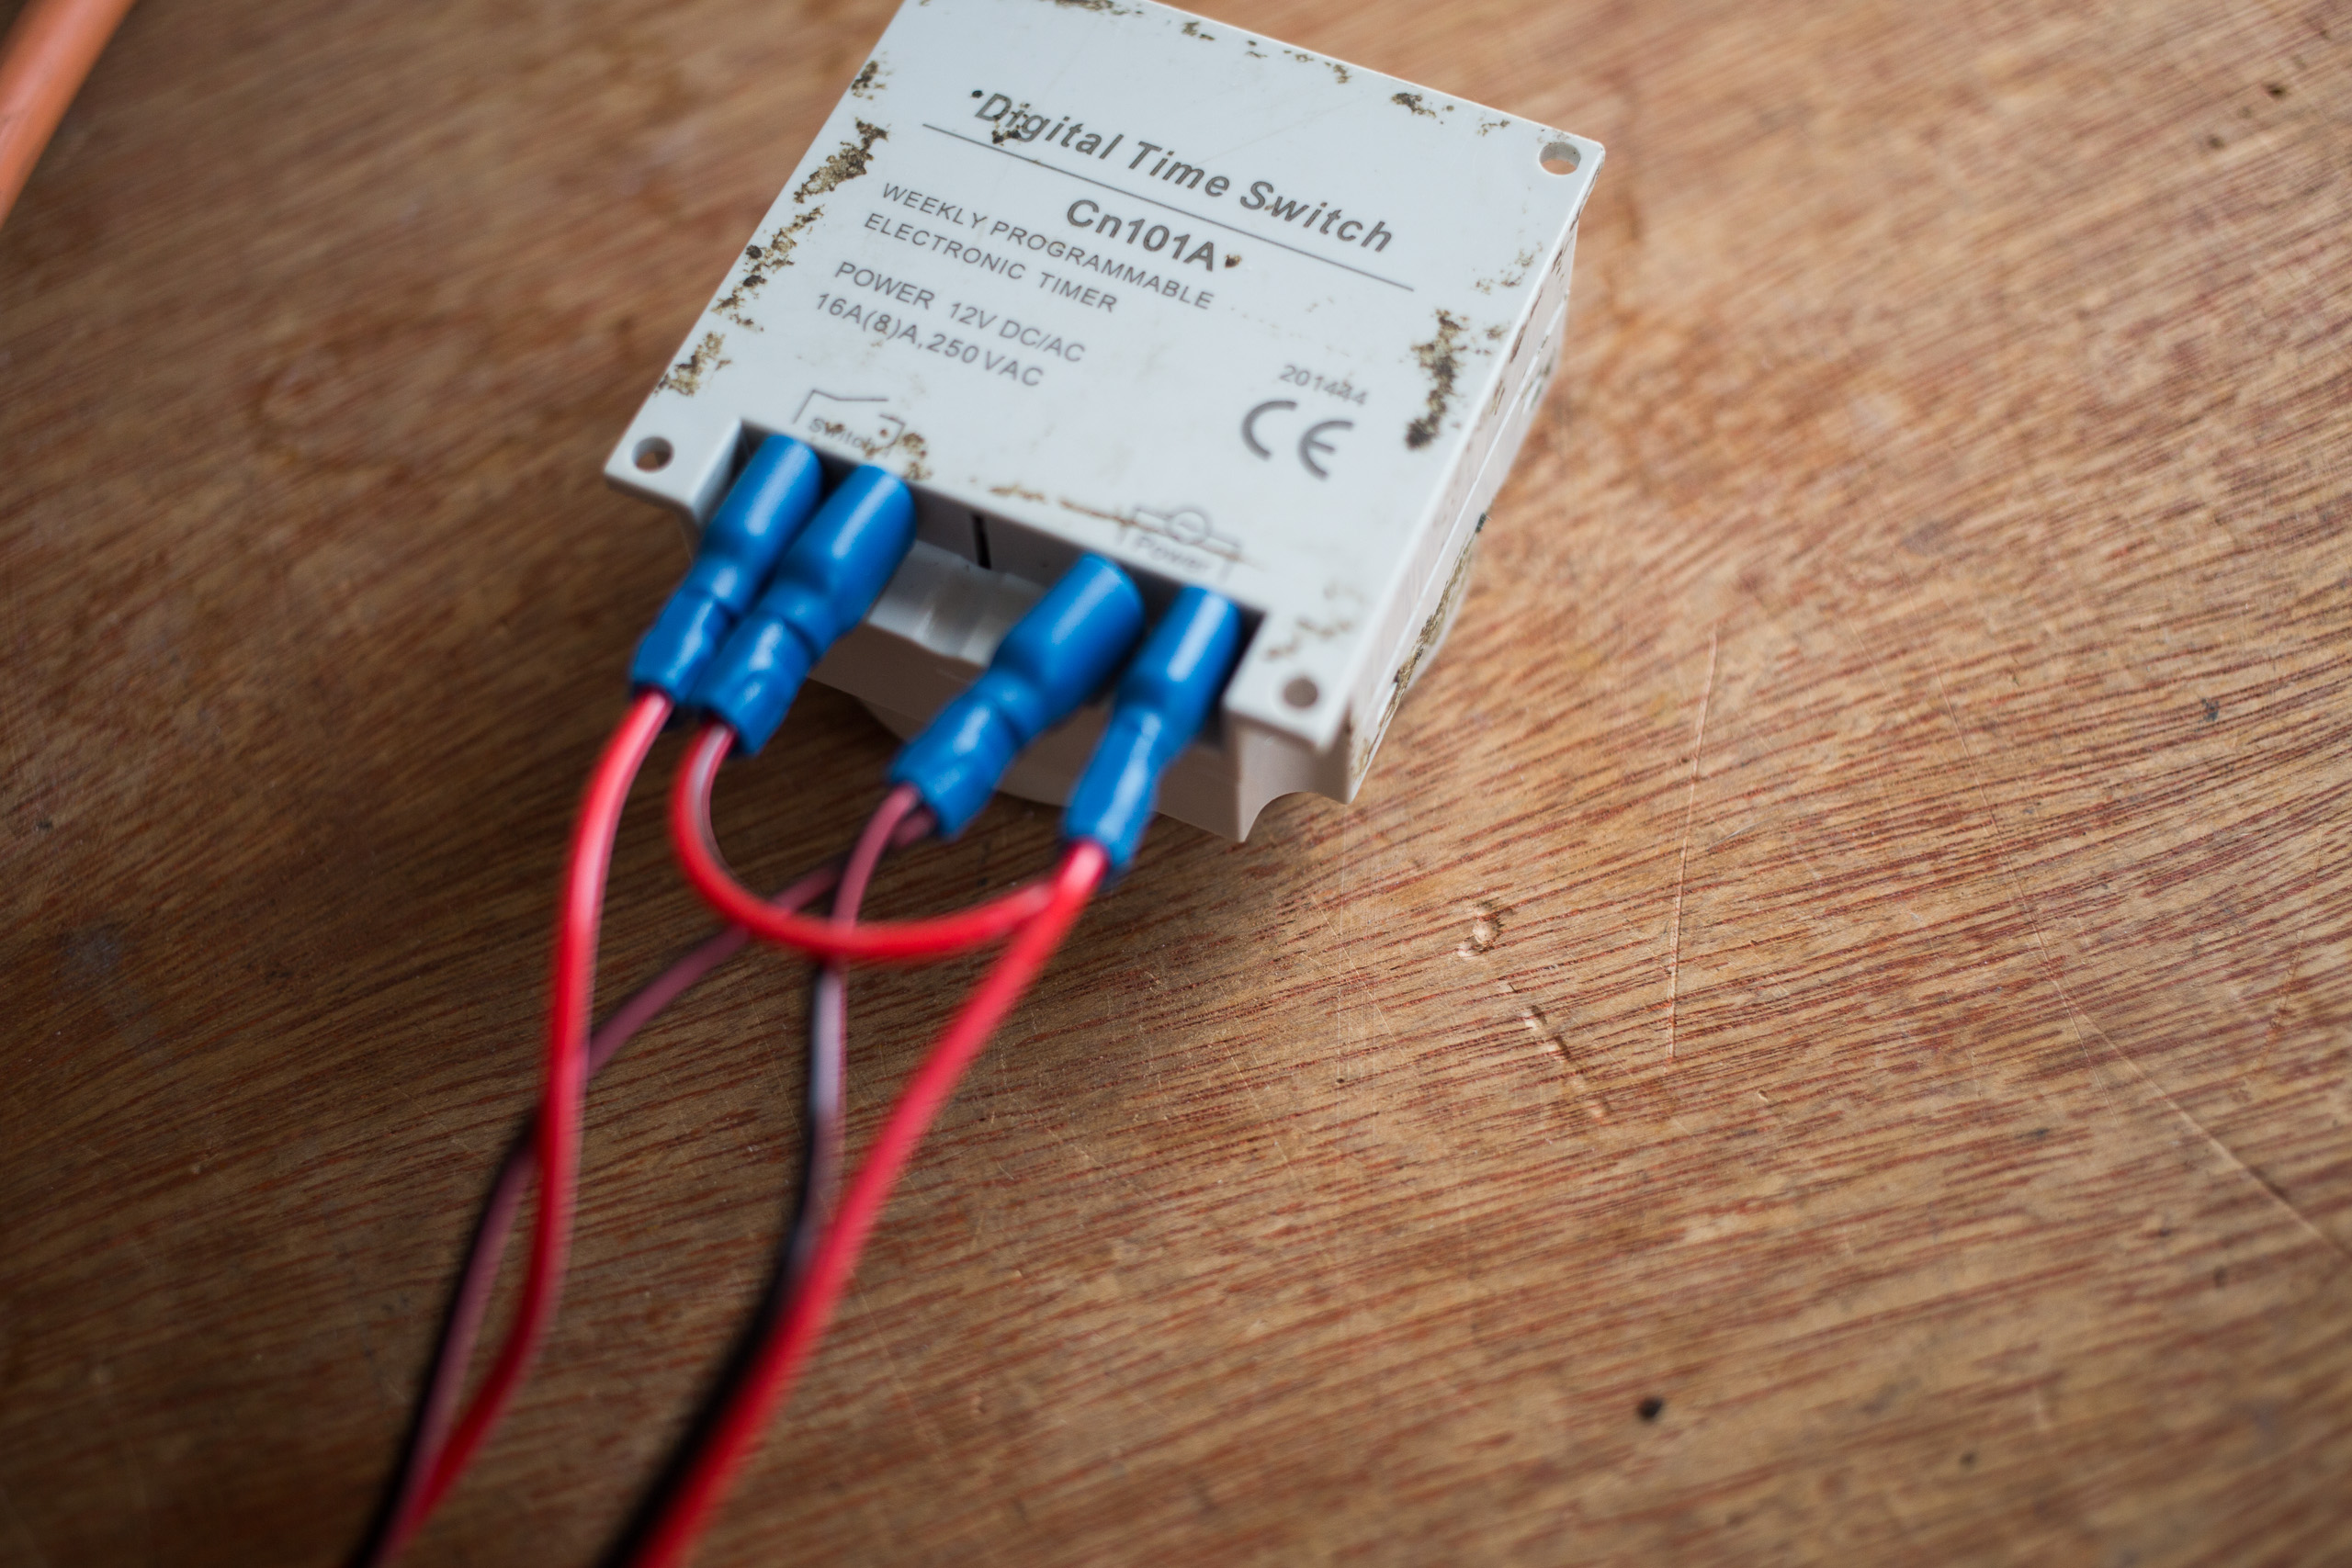
In the photo: The 12v timer wired up.
Why use a 5V USB supply?
The earliest versions I built didn't use the 12V-to-5V buck converter and USB arrangement.
I started using that approach around seven years ago and it's made the systems simpler and more versatile.
Having a 5V USB supply means you can easily add other low-power accessories without adding much complexity to the wiring.
One particularly useful addition is a 5V lens heater. This becomes useful if you're shooting overnight. For example, you could install the camera at a remote location and program the system to switch on every evening, photograph the stars throughout the night, then switch itself off again in the morning.
The solar panel can spend the following day replenishing the battery before the process repeats the next night.
A lens heater helps prevent dew and condensation forming on the front of the lens. That's important because there's little point successfully running a camera unattended every night if half the photographs are unusable because the lens has fogged.
This is one of the advantages of building the system yourself. Although the basic design is extremely simple, you can adapt it to the particular project without adding a lot of power-hungry electronics.
How to Build a Solar-Powered Long-Term Time-Lapse Camera
Triggering the Camera
The 12-volt timer controls when the camera switches on and off, but you still need something to actually trigger the shutter.
For this, I use a simple external intervalometer. These are inexpensive and widely available. On a Canon 1200D, the intervalometer simply plugs into the remote jack socket on the side of the camera.
You then set the interval between photographs and the number of shots you want it to take. For long-term time-lapse, I normally set the number of shots to infinity.
The intervalometer will then continue triggering the camera at whatever interval you've selected until the 12-volt timer switches the camera's power off.
When the timer powers everything up again the following day, the process starts again. The intervalometer itself uses very little power. In practice, you can leave one running like this for extremely long periods.
I've used this basic arrangement for long-term installations, and it will happily continue triggering the camera day after day, year after year. It's a very simple solution, but that's also why it's so reliable.
The timer determines when the camera operates, while the intervalometer determines how often it takes a photograph.
A Few Final Camera Settings
There are a few small things worth doing before you leave the camera running unattended.First, go into the camera menu and make sure Auto Power Off is disabled. You want the external timer controlling when the camera receives power rather than the camera deciding to put itself to sleep. Focus is another thing to pay particular attention to.
Ideally, I'd use a fully manual-focus lens. Old Nikon manual lenses with a suitable Nikon-to-Canon adapter are a good inexpensive option and work very well for long-term time-lapse.
If you're using a modern lens, make sure there's no chance of the focus or zoom rings moving once you've set the shot.
Over a long installation, it doesn't take much movement to ruin the sequence. I sometimes use elastic bands to hold the focus ring in position, although masking tape or electrical tape also works well.
The important thing is simply to stop anything from accidentally knocking the lens out of focus.
For ISO, you can use Auto ISO if the light is going to vary considerably, or something like ISO 400 is a reasonable starting point for a fixed setup.
Put the camera in aperture priority to control the exposure.
The exact exposure settings will depend on what you're photographing and whether the camera needs to cope with daylight, night-time or both.
One thing that's easy to overlook is the relationship between your exposure time and the interval between photographs. Your interval needs to be longer than the exposure itself because the camera also needs time to process the image and write it to the memory card.
For example, if you're shooting a one-second exposure at night, don't set the intervalometer to take another photograph exactly one second later. Give the camera some breathing room.
An interval of around 1.5 seconds or longer gives it additional time to finish the exposure and write the file.This is particularly important with older cameras such as the Canon 1200D. Their processors and card-writing speeds aren't particularly fast by modern standards, and if you ask the camera to shoot faster than it can process the files, you'll eventually hit the buffer and your time-lapse intervals will become inconsistent.
Before leaving any long-term installation, I always run the complete system for a while and make sure the camera is actually keeping up with the interval I've selected. It's much better to discover a problem during testing than several weeks into a time-lapse.
6. Part list
Camera I use older Canon DSLRs such as the Canon 1200D, but other cameras can work just as well.
Lens ideally a manual-focus lens, although a standard autofocus lens can be used if you securely lock the focus and zoom rings.
12V battery I generally use a 12-volt battery with enough capacity to keep the camera running through periods of poor weather.
Inline fuse and fuse holder fitted close to the battery to protect the wiring and equipment.
12V solar charge controller connects the solar panel and battery and manages the charging. Solar panel – for UK conditions, I'd generally use somewhere between 10W and 30W, depending on how frequently you're shooting, how many hours per day the camera operates and the time of year.
12V programmable timer controls when the camera system's power switches on and off.
12V connectors and cables connect the components for the timer, along with enough cable to wire the components together.
12V-to-5V buck converter steps the 12-volt supply down to 5 volts for the USB-powered camera adapter and any other 5V accessories.
USB dummy battery adapter: make sure you buy the correct dummy battery for your particular camera model.
External intervalometer: again, check compatibility with your camera and make sure it has the correct remote connector.That's essentially everything required for the electronics. You'll obviously also need a suitable weatherproof enclosure and mounting system if the camera is going to live outside. None of these individual components is particularly sophisticated.
The key is putting them together correctly and keeping the system simple, because for a camera that's going to sit unattended for months or years, reliability is much more valuable than complexity.


